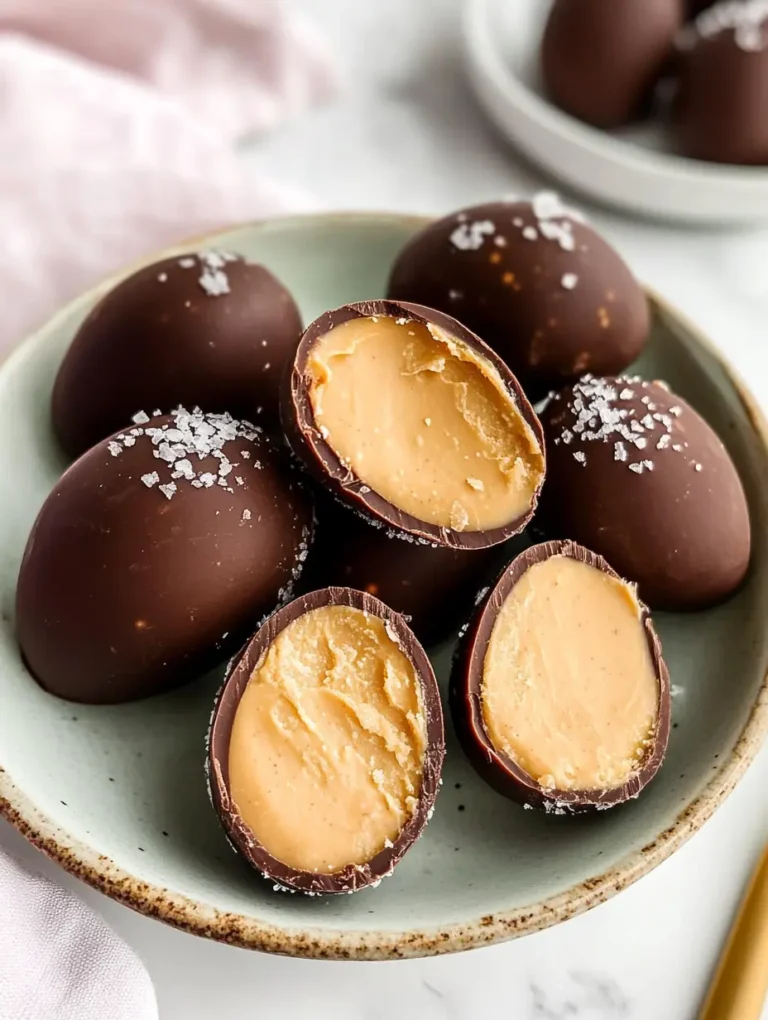
Easter Egg Peanut Butter Candies
Easter Egg Peanut Butter Candies are a festive, no-bake treat that’s creamy, chocolatey, and perfect for springtime celebrations. These little bites are freezer-friendly, fun to decorate, and super easy to make with pantry staples.
- Total Time: 25 minutes
- Yield: 24 egg bites 1x
Ingredients
- 1/4 cup unsalted butter, softened
- 1 cup creamy peanut butter (non-natural)
- 2 cups confectioners’ sugar
- 1 teaspoon pure vanilla extract
- Pinch of salt
- 2 cups semi-sweet chocolate, coarsely chopped
- 1 teaspoon vegetable oil
- Coarse sea salt, for topping
Instructions
- Beat butter and peanut butter in a bowl until smooth and creamy.
- Add confectioners’ sugar gradually and mix until dough-like texture forms.
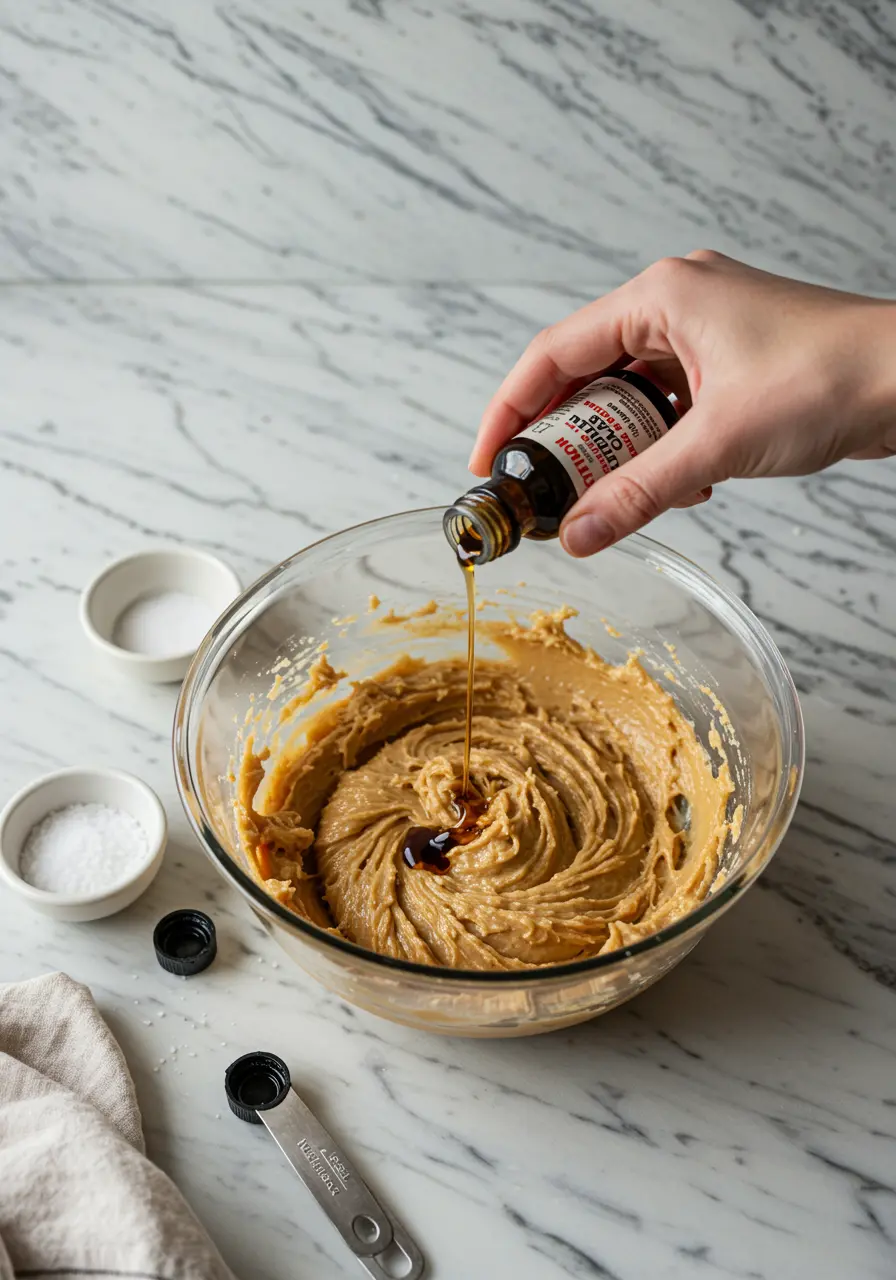
- Stir in vanilla extract and pinch of salt.
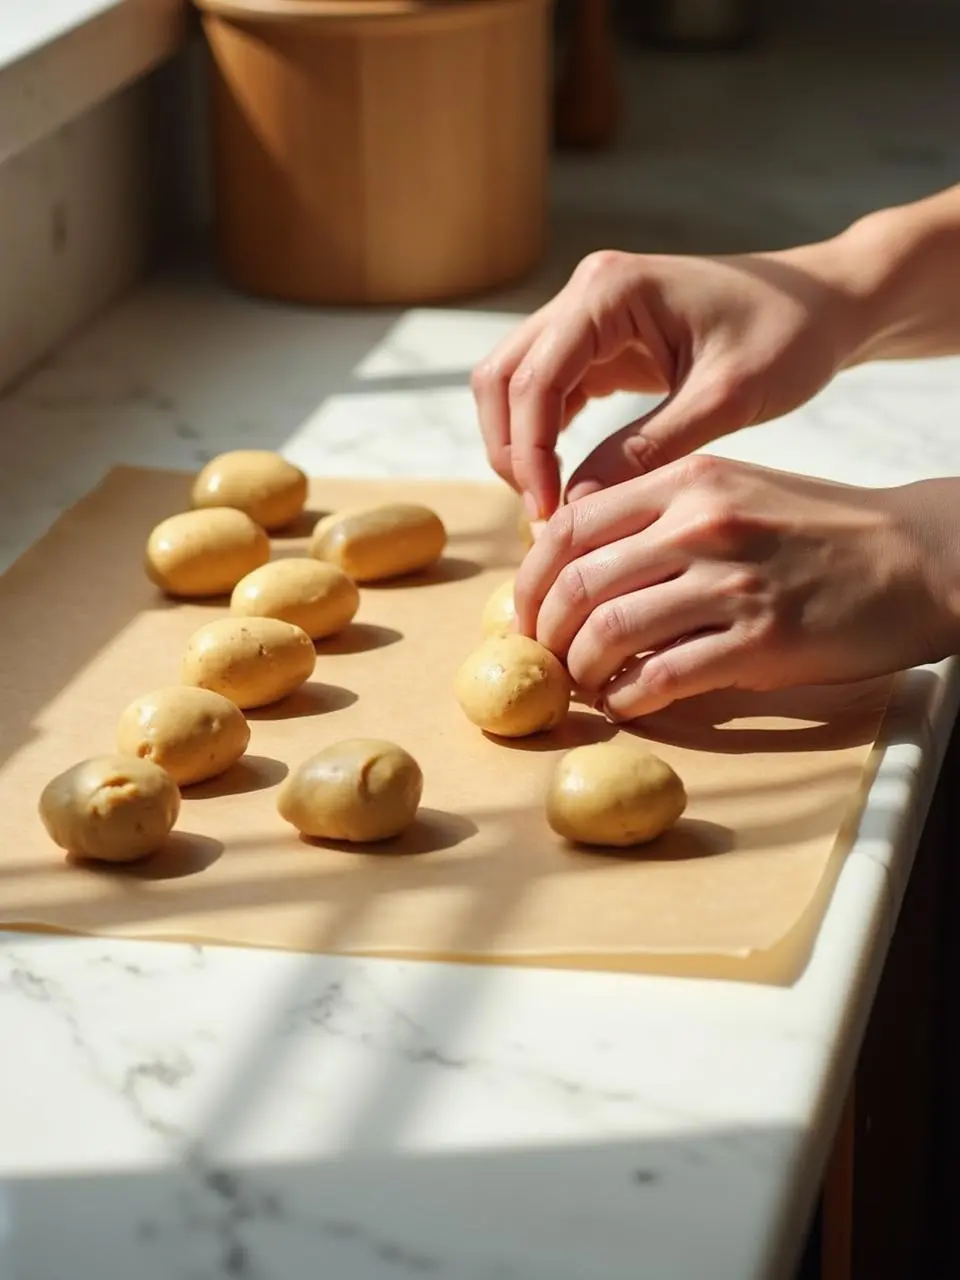
- Roll mixture into small egg shapes and place on lined tray.
- Chill in the refrigerator until firm.
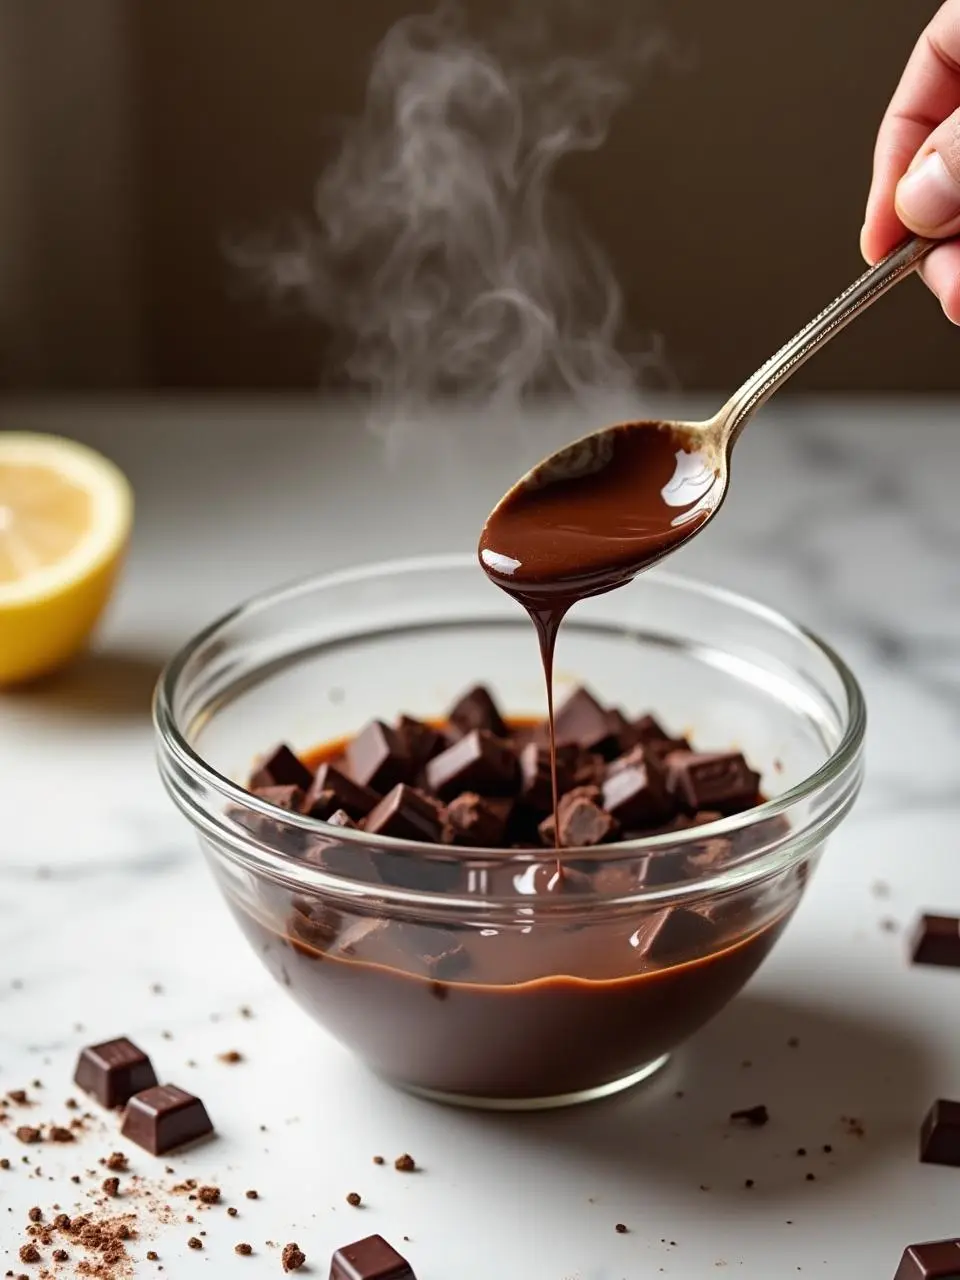
- Melt chocolate and vegetable oil together until smooth.
- Dip each peanut butter egg into the melted chocolate, then place back on tray.
- Sprinkle with coarse sea salt while chocolate is still wet.
- Let set at room temperature before serving or storing.
Notes
Use non-natural peanut butter for best texture. Chill before dipping to maintain shape. Store in an airtight container at room temp for up to 7 days, or freeze for longer storage.
- Prep Time: 25 minutes
- Cook Time: 0 minutes
- Category: Dessert
- Method: No Bake
- Cuisine: American
Nutrition
- Serving Size: 1 egg bite
- Calories: 165
- Sugar: 14g
- Sodium: 55mg
- Fat: 10g
- Saturated Fat: 3g
- Unsaturated Fat: 6g
- Trans Fat: 0g
- Carbohydrates: 18g
- Fiber: 1g
- Protein: 3g
- Cholesterol: 0mg
Keywords: easter egg peanut butter candies, no bake easter candy, homemade peanut butter eggs, chocolate peanut butter treats, spring desserts
Easter Egg Peanut Butter Candies are the kind of treat that turns a simple spring afternoon into a sweet little celebration. You know those moments when you want to whip up something festive but don’t have time for complicated baking? This is it! First, they’re super easy, with no oven and no stress. Next, they come together with pantry staples you probably already have. In addition, they’re fun to make with kids, perfect for gifting, and adorable on any Easter table.
You’re going to love this recipe! The creamy peanut butter center, the smooth chocolate shell, and the endless decorating options make it feel like a fun little challenge with delicious rewards. Also, these candies are freezer-friendly and travel well, so you can prep ahead or share the love. So, what are you waiting for? Keep reading and make your Easter extra sweet with a simple, nostalgic, and irresistible treat.
Festive Treats for Every Easter Celebration
Creative Easter Packaging Ideas for Homemade Candies
You’re going to love how fun and easy it is to wrap these up like a pro! First, grab some colorful foil or pastel tissue paper. Then, fold it gently around your candies and twist the ends like old-school sweets. Also, adding cute little ribbons or stickers gives each one a special touch. In addition, you can use small Easter baskets or egg cartons to hold your candies for gifting. It feels like crafting and snacking at the same time! The best part? Everyone gets excited just by the look of them. Use labels with names or funny notes to personalize them even more. These little details make your Easter Egg Peanut Butter Candies truly unforgettable. Let’s keep it cute, simple, and super sweet—because homemade treats should feel as good as they taste!
| Packaging Item | Use |
|---|---|
| Colorful foil wrappers | Wrap individual egg candies |
| Mini gift baskets | Present as small Easter gifts |
| Ribbon or twine | Tie the ends for a finished look |
| Printable labels | Add names or fun Easter messages |
Family-Friendly Presentation Tips for the Dessert Table
Next up, let’s talk about making your dessert table shine without stress. Start with a clean white plate or pastel tray. Then, place the candies in neat rows or fun little nests of shredded paper. Also, mix in a few Easter decorations like mini chicks or bunny figurines. This adds a playful vibe that guests will love. In addition, you can group your Easter Egg Peanut Butter Candies by color or topping style. That way, it looks pretty and organized. Keep things balanced with a mix of heights—use cake stands, bowls, and flat trays. When your table looks this fun, it invites everyone to grab a treat! And honestly, isn’t that the whole point? It’s about creating smiles, sharing sweet moments, and making your treats the star of the show.
| Presentation Element | Effect |
|---|---|
| Pastel trays | Spring-themed background |
| Shredded paper nests | Adds texture and Easter charm |
| Bunny/chick figurines | Makes display more playful |
| Cake stands/bowls | Vary height for visual interest |
Choosing the Right Chocolate Coating for Your Peanut Butter Eggs
Melting Techniques for a Smooth Chocolate Finish
Getting that smooth, shiny chocolate coating is easier than it sounds. First, always melt your chocolate slowly. Use a double boiler or a microwave on low power. Stir every 20 seconds to avoid burning. Then, once it’s glossy and smooth, dip your candies one at a time. In addition, tap off any excess before placing them on wax paper. It’s like painting, but you get to eat the masterpiece! Also, let the chocolate set at room temperature for best results. Don’t rush it in the fridge, or you might get white streaks. With these tips, your Easter Egg Peanut Butter Candies will look bakery-quality with zero stress!
| Method | Notes |
|---|---|
| Double boiler | Prevents burning, melts evenly |
| Microwave (low) | Easy and fast with stirring |
| Dipping technique | Dip + tap for clean coating |
| Air dry on paper | Avoids streaks from cooling |
Best Types of Chocolate for Dipping and Drizzling
Not all chocolate works the same, so let’s pick the right one! First, milk chocolate gives that classic candy flavor. It’s creamy, sweet, and everyone loves it. Dark chocolate adds a rich, bold taste that feels more grown-up. In addition, white chocolate is a fun choice for decorating with food coloring. You can drizzle it in bright pastel shades! Also, look for couverture chocolate if you want the pro finish—it melts smoother and shines more. Just stay away from chocolate chips unless they’re made for melting. Use these tips to create the perfect shell for your Easter Egg Peanut Butter Candies.
- Milk chocolate: Classic sweet taste
- Dark chocolate: Rich and intense flavor
- White chocolate: Best for coloring and designs
- Couverture: Smoothest finish for pro look
- Avoid standard chips: May clump or burn
Fun Variations to Customize Your Easter Egg Candies
Colorful Toppings and Crunchy Add-ins for Extra Texture
Making these candies your own is part of the fun! First, you can sprinkle crushed nuts or mini candy pieces on top before the chocolate sets. In addition, colorful sprinkles or shredded coconut add a pop of color. Want a little crunch? Try pretzel bits or crispy rice cereal in the peanut butter mix. Also, edible glitter is a sparkly option that looks super festive! You can change the topping each time and never get bored. These little changes turn your Easter Egg Peanut Butter Candies into something special every time.
| Topping Idea | Texture & Look |
|---|---|
| Crushed nuts | Crunchy and rustic |
| Candy sprinkles | Colorful and playful |
| Shredded coconut | Soft texture, tropical vibe |
| Edible glitter | Sparkly and magical |
- Pretzel bits: Salty crunch inside
- Crispy rice cereal: Light and crispy bites
- Mini chocolate chips: Extra chocolate goodness
Peanut-Free Substitutes for Allergy-Friendly Options
No peanut butter? No problem! There are lots of tasty swaps. First, sunflower seed butter is a great nut-free option. It’s creamy and has a slightly nutty taste. In addition, soy nut butter works well and is easy to find. Also, almond butter is a yummy choice for those who can eat tree nuts. For a sweeter version, try cookie butter—it’s rich and a little spicy. These swaps still let you enjoy your Easter Egg Peanut Butter Candies without worry.
| Substitute | Best For |
|---|---|
| Sunflower seed butter | Nut-free alternative |
| Soy nut butter | Mild taste, good texture |
| Almond butter | Rich and slightly sweet |
| Cookie butter | Dessert-like, fun twist |
- Always check allergy labels
- Adjust sweetness if the butter is sweetened
- Chill mix longer if it’s too soft
Make-Ahead and Storage Tips for Busy Holiday Schedules
How to Freeze Peanut Butter Eggs Without Losing Flavor
Want to prep ahead? You totally can! First, place your finished candies on a tray lined with wax paper. Then, freeze until solid. Next, transfer them to an airtight container or freezer bag. Also, place parchment between layers to prevent sticking. In addition, label the bag with the date. Frozen Easter Egg Peanut Butter Candies can last up to two months! When you’re ready to eat, just let them thaw for a few minutes. They’ll taste just as good. This way, your treats are always ready to go, even on busy days!
| Freezing Step | What to Do |
|---|---|
| Freeze on tray | Use wax paper |
| Store airtight | Use labeled freezer bag |
| Add parchment | Stops candies from sticking |
| Thaw time | 10–15 minutes at room temp |
- Avoid refreezing after thawing
- Use by 2 months for best taste
Storing at Room Temperature vs. Refrigeration
Let’s keep things fresh! First, if your house is cool, you can store these in an airtight container at room temp. Place wax paper between layers to keep them pretty. Also, keep them away from direct sunlight or heat. If your kitchen gets warm, it’s safer to refrigerate them. In addition, cover the container to avoid absorbing fridge smells. These tips help your Easter Egg Peanut Butter Candies stay tasty and firm. It’s all about balance—cool enough to hold shape, but not so cold that they lose flavor.
| Storage Method | Best Use |
|---|---|
| Room temperature | Cool, dry places |
| Refrigerator | Warm climates or soft shells |
| Airtight container | Keeps candies fresh |
| Wax paper layers | Prevents sticking |
- Don’t store near stinky foods
- Avoid plastic wrap—can squish the shape
- Best enjoyed within 7–10 days
Now that your Easter table’s looking fabulous, let’s whip up the stars of the show—these creamy little peanut butter egg bites that everyone will devour in seconds!
Ingredients
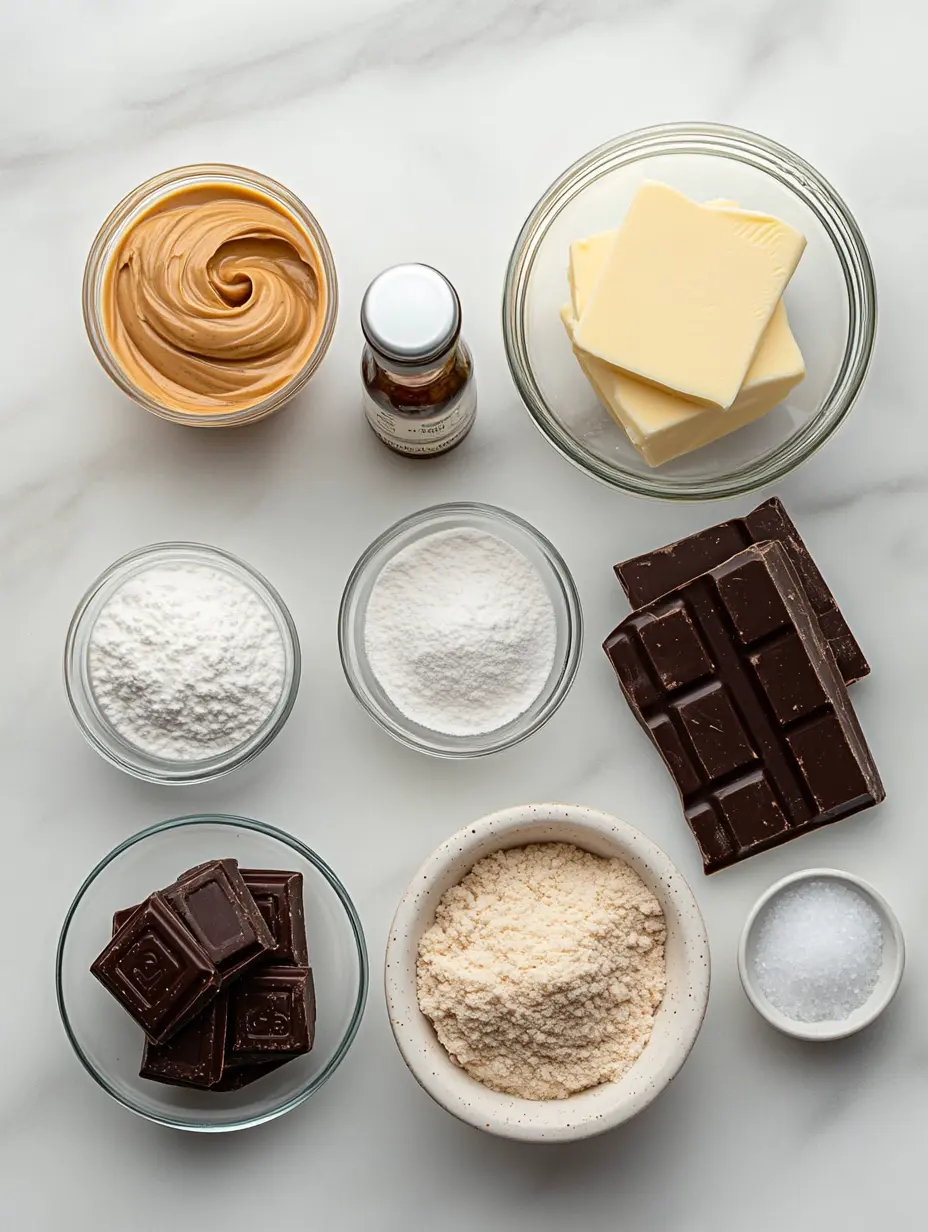
First, let’s talk butter—unsalted and softened. It brings the creamy base that makes each bite smooth. Next, creamy peanut butter joins the party! It gives that rich, nutty center we all love in Easter Egg Peanut Butter Candies. Be sure to use the non-natural kind so it mixes easily.
Then, confectioners’ sugar sweetens the deal and firms up the texture, making everything hold together just right. In addition, pure vanilla extract adds a warm, sweet flavor that ties everything together. Don’t skip the salt—it’s a tiny pinch, but it makes the sweetness pop.
Also, coarsely chopped semi-sweet chocolate gives the perfect coating. It’s rich, melts beautifully, and balances the peanut butter filling. To help that chocolate shine and spread, we add a teaspoon of vegetable oil. Finally, a sprinkle of coarse sea salt on top makes them look fancy and taste amazing. Every bite feels like a treat made with love.
If you love peanut butter-based treats, don’t miss our Peanut Butter Jelly Traybake Recipe for another sweet idea!
Step-by-Step Instructions
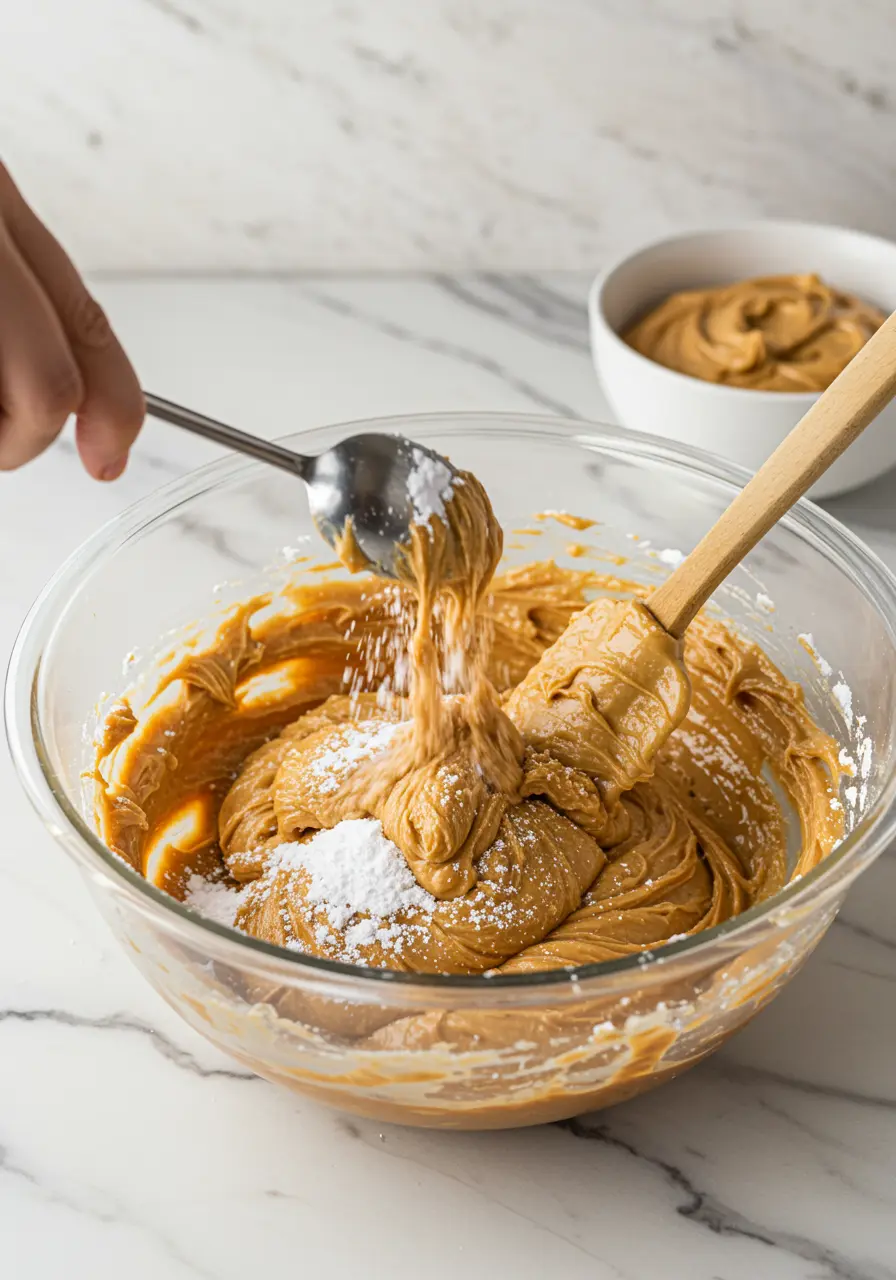
First, beat the butter and peanut butter together in a bowl until smooth and creamy. This makes the base fluffy and easy to mix. Next, add the confectioners’ sugar, a little at a time. Mix until you get a thick dough-like texture that holds together well.
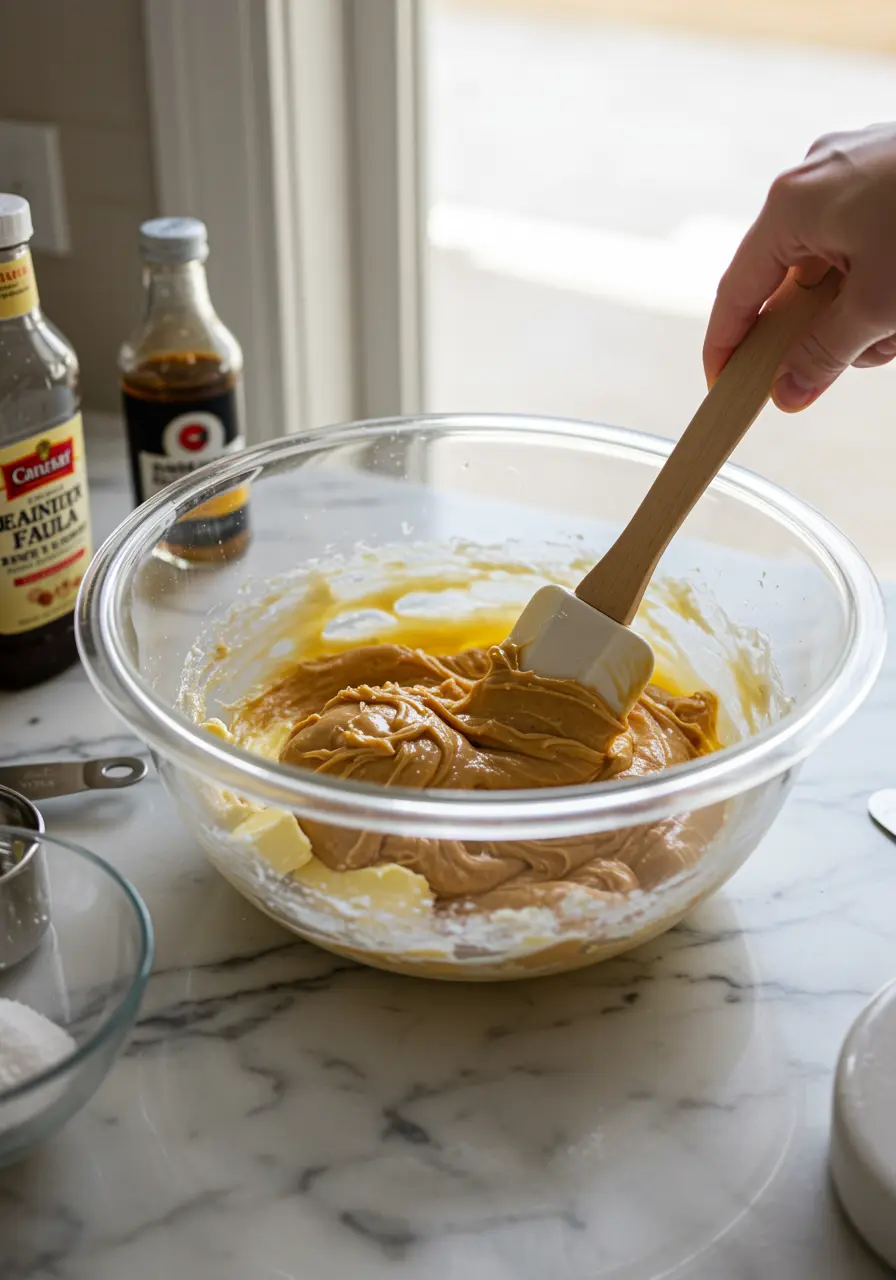
Then, stir in the vanilla extract and a pinch of salt. This adds flavor and balance to your creamy peanut butter center. Once it’s all combined, roll the mixture into small egg shapes. Place them on a lined tray, and chill in the fridge until firm.
While they chill, melt your chocolate and vegetable oil together. You can use a microwave or double boiler. Stir until smooth. After the peanut butter eggs are firm, dip each into the melted chocolate. Then, place them back on the tray to set.
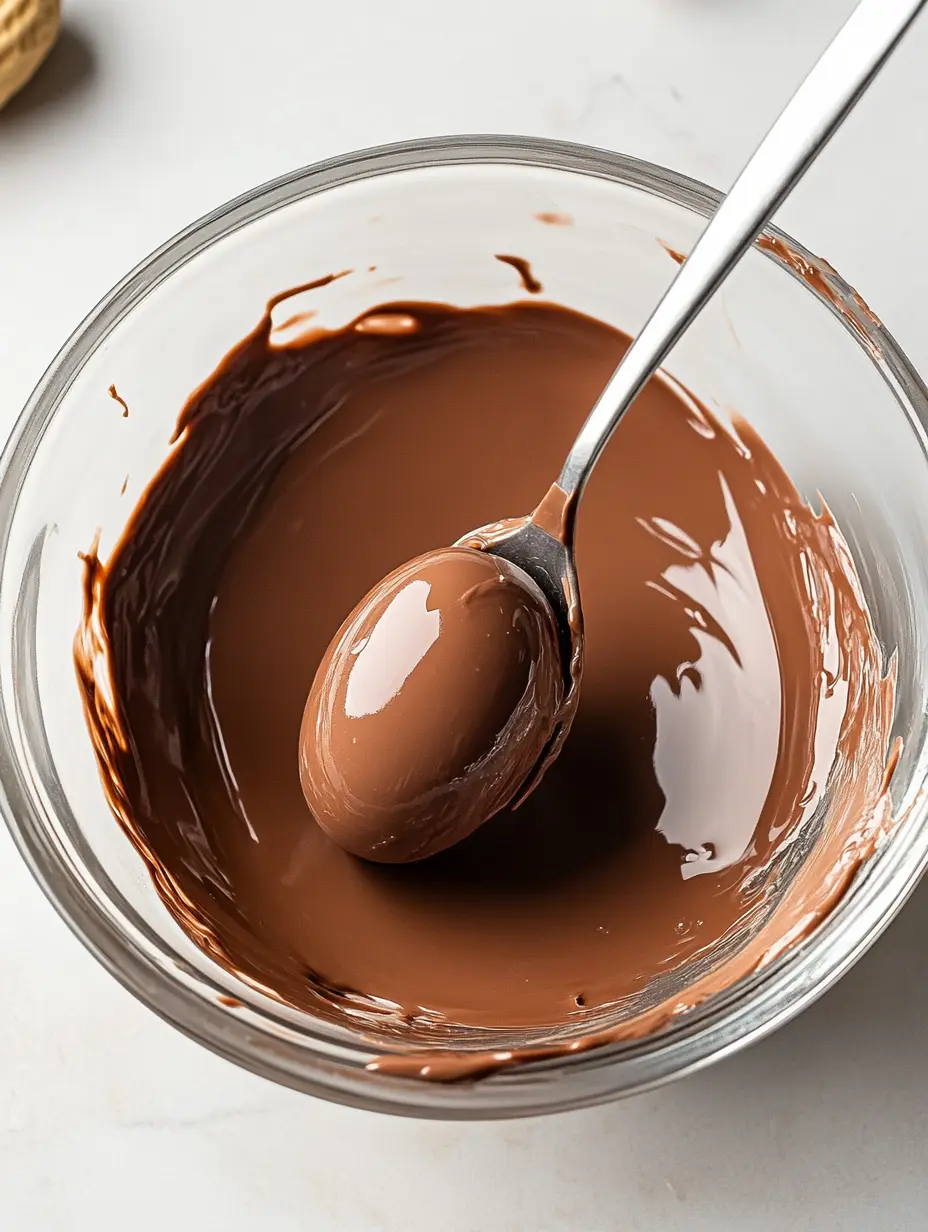
Finally, sprinkle with sea salt for an extra touch. That’s it! You’ve just made delicious Easter Egg Peanut Butter Candies.

Serving
This recipe serves about 24 little candy eggs—perfect for sharing! First, place them on a pastel tray or festive plate. Then, add a few edible decorations around them for a colorful Easter vibe.
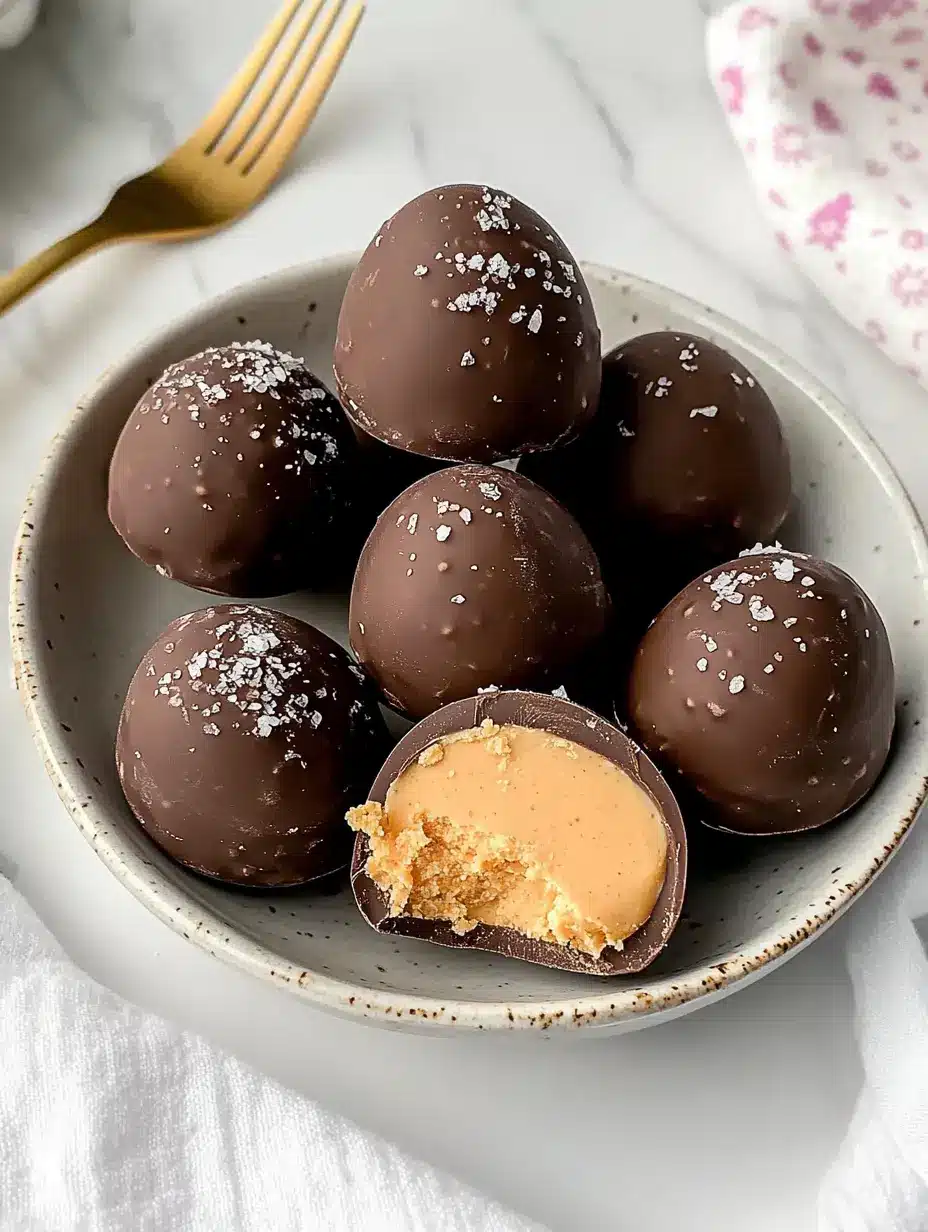
You can serve them as a standalone dessert or wrap a few in foil as gifts. In addition, pair them with fresh fruit, hot cocoa, or a cool lemonade. The sweet and salty combo makes them super versatile.
For a fun twist, try adding colored sprinkles or mini chocolate chips before the chocolate sets. You can even pop a few into mini cupcake liners to keep them neat and tidy on a dessert table. Everyone will reach for them, so be ready!
If you love easy homemade treats, you might also enjoy our No-Bake Nut-Free Buckeye Bliss Balls. They’re just as simple and fun to share!
Whether you’re hosting brunch, filling baskets, or treating yourself, these candies always feel special. They’re bite-sized, creamy, and just the right amount of chocolatey. Easter magic has never tasted so good—or looked so adorable!
Tips and Hacks
First, make sure your peanut butter is at room temperature—it mixes more easily and gives a smoother texture. Also, don’t skip chilling the eggs before dipping them in chocolate. This helps them hold their shape and coat evenly.
In addition, if you want a stronger vanilla flavor, you can add a few more drops without making the mix too runny. For those who like variety, roll the eggs in shredded coconut or crushed nuts instead of dipping them all in chocolate.
Then, if you’re in a hurry, freeze the peanut butter mixture for 10 minutes instead of refrigerating it for longer. This speeds things up! Want to make them ahead of time? You can freeze the finished candies for up to a month.
Just thaw them for a few minutes before serving. These little hacks make your Easter Egg Peanut Butter Candies not only tastier, but way easier to prep, share, and enjoy.
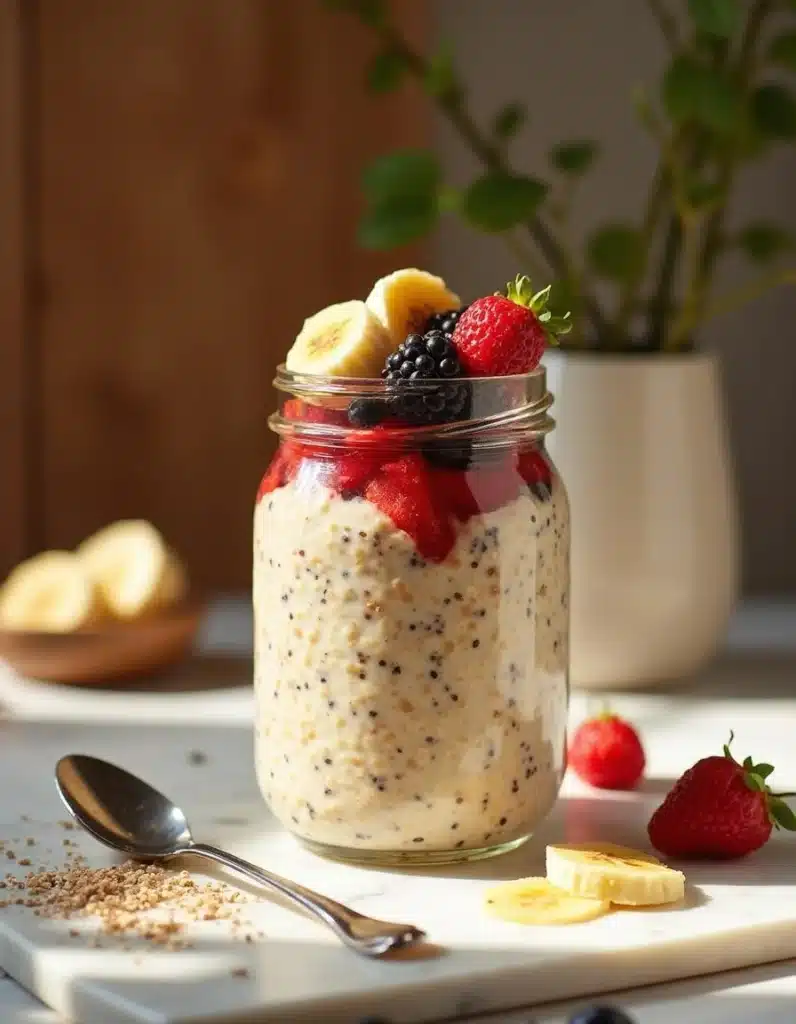
Looking for more prep-ahead ideas? Check out our Overnight Oats Recipe — it’s a wholesome breakfast that gets ready while you sleep!
Nutrition Facts
Serving size: 1 egg bite
Calories: 165
Fat: 10g
Carbs: 18g
Protein: 3g
Sodium: 55mg
Fiber: 1g
Please note: These values are estimated and may vary depending on specific ingredient brands, portion sizes, or preparation methods.
Prep Time
Prep time: 25 minutes
Cook time: 0 minutes
Total time: 25 minutes
Please note: Times may vary depending on how quickly you shape and dip the egg bites.
Here are at least five internal tag suggestions based on the sitemap contents that align well with your article section:
What to Serve with Creamy Peanut Butter Egg Bites (Easter Edition)
- Peanut Butter Pancakes Recipe — fluffy peanut butter goodness, perfect for Easter brunch sides.
- Homemade Belgian Waffle Recipe — brunch-worthy pairing with your egg bites.
- Sun-Dried Tomato and Feta Stuffed French Toast — a savory-sweet Easter twist.
- Easy Blueberry Muffins Recipe — fruity companion for peanut butter dishes.
- Valentine’s Day Breakfast Board Ideas — inspiration for building a festive Easter board.
Frequently Asked Questions (FAQs)
Technically, you can cook eggs and peanut butter together, but not for this candy recipe! First, eggs and peanut butter do work well in some savory dishes or even in high-protein snacks. But here, we’re going for a smooth, sweet bite. So, no cooking needed. Instead, just chill and dip. That’s part of what makes Easter Egg Peanut Butter Candies so fun and easy to make!
Yes, you totally can eat them together! They make a great combo in breakfast wraps or protein snacks. First, eggs give a soft texture. Next, peanut butter adds a nutty, filling flavor. But when making Easter Egg Peanut Butter Candies, no real eggs are used. It’s just candy shaped like eggs—fun, sweet, and super simple. That’s why they’re such a hit around Easter time!
Great news—they last a while! First, keep your Easter Egg Peanut Butter Candies in an airtight container. At room temperature, they’re good for up to 7 days. If you chill them in the fridge, they can last up to two weeks. You can also freeze them! Just let them thaw before serving. That means you can prep ahead and enjoy these goodies even after Easter!
Reese’s eggs are super popular and tasty. They usually include peanut butter, sugar, milk chocolate, salt, and some stabilizers. But here’s the fun part—making Easter Egg Peanut Butter Candies at home means fewer ingredients. Also, you get to skip the extras and preservatives. It’s all the flavor, made fresh in your own kitchen. Plus, you can decorate them however you like. Now that’s sweet!
Bring Joy to Your Easter Table with These Delightful Homemade Candies
You’ve got everything you need to make a sweet memory this Easter! First, this recipe is simple and fun. Next, it uses just a few ingredients, but gives you big flavor. Also, these treats are adorable and easy to customize. They look great on any table. In addition, Easter Egg Peanut Butter Candies are perfect for sharing with loved ones. You can make them ahead of time, too. That means less stress later. Plus, they’re freezer-friendly and stay fresh for days. If you’re planning an Easter brunch or filling gift baskets, they’re a perfect fit. They’re also great for school treats or party favors. Each candy is creamy, chocolatey, and full of homemade love.
If you’re craving even more holiday joy, try this Chocolate Mint Cookies Sweet Treat too—it pairs beautifully with anything chocolatey. Or for something savory, this Buffalo Chicken Dip is always a party favorite. Making these is like a fun kitchen craft with delicious rewards. So don’t wait! Give them a try and enjoy every bite. You’ll smile, your guests will smile, and Easter will feel extra sweet this year!

