The Best Cheeseburger Sliders: Quick, Delicious, and Perfect for Sharing
Who doesn’t love a juicy, bite-sized burger that’s packed with flavor? If you’re tired of the same old meal routine and craving something quick, fun, and oh-so-delicious, then Cheeseburger Sliders are your new best friend. Imagine sinking your teeth into a perfectly seasoned patty topped with melted cheese, all nestled in a soft, golden bun. It’s the ultimate comfort food in mini form—and it’s ready in no time!
- Total Time: 35 minutes
- Yield: 12 sliders
Ingredients
Ingredients
- Lean Ground Beef (2 lbs)
- Garlic Powder (2 tsp)
- Kosher Salt (1 tsp)
- Ground Black Pepper (2 tsp)
- Olive Oil (1 tbsp)
- White Onion, Diced (1/2)
- Hawaiian Rolls (12 slider-sized)
- Cheese Snack Bars (12, 3/4 oz each)
For the Glaze (Optional)
- Unsalted Butter, Melted (1/4 cup)
- Kosher Salt (1/2 tsp)
- Brown Sugar (2 tbsp)
- Soy Sauce (3 tsp)
- Dijon Mustard (2 tbsp)
- Sesame Seeds (1/2 tbsp)
Instructions
- Prepare the Beef Mixture: In a large bowl, mix the ground beef, garlic powder, salt, and pepper. Gently fold in the diced onion for extra moisture and flavor.
- Cook the Beef: Heat olive oil in a skillet over medium heat. Add the beef mixture and cook until browned, stirring occasionally to break it up.
- Assemble the Sliders: Slice the Hawaiian rolls in half, keeping them attached. Place the bottom halves in a baking dish.
- Layer the Ingredients: Spread the cooked beef evenly over the rolls. Add a slice of cheese on each, then place the top buns over them.
- Prepare the Glaze: Mix melted butter, salt, brown sugar, soy sauce, and Dijon mustard. Brush it generously over the sliders, then sprinkle sesame seeds on top.
- Bake to Perfection: Cover with foil and bake at 350°F for 15 minutes. Remove foil and bake for another 5 minutes until golden and melty.
- Serve and Enjoy: Let them cool slightly before cutting into individual sliders. Enjoy while warm!
Notes
- Mix a tablespoon of mayo into the beef for extra juiciness.
- Use pre-cooked beef crumbles to save time.
- Assemble the sliders ahead of time and refrigerate until ready to bake.
- Prep Time: 15 minutes
- Cook Time: 20 minutes
- Category: Appetizer, Main Dish
- Method: Baking, Sautéing
- Cuisine: American
Nutrition
- Serving Size: 1 slider
- Calories: 250
- Sodium: 350mg
- Fat: 12g
- Carbohydrates: 20g
- Fiber: 1g
- Protein: 14g
Keywords: cheeseburger sliders, mini burgers, party food, easy recipes, slider buns, comfort food, homemade sliders, quick meal, beef sliders, melted cheese sliders, party snacks, savory sliders, family dinner, slider recipes, fun food
Table of Contents
Who doesn’t love a juicy, bite-sized burger that’s packed with flavor? If you’re tired of the same old meal routine and craving something quick, fun, and oh-so-delicious, then Cheeseburger Sliders are your new best friend. Imagine sinking your teeth into a perfectly seasoned patty topped with melted cheese, all nestled in a soft, golden bun. It’s the ultimate comfort food in mini form—and it’s ready in no time!
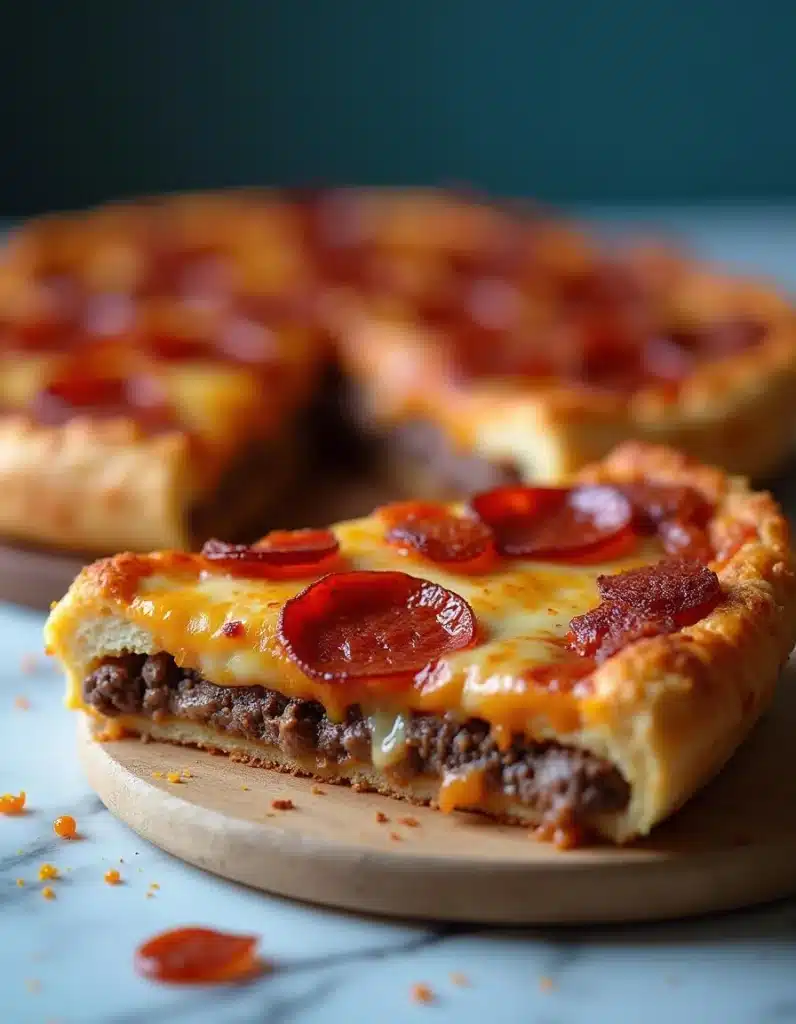
The best part? These sliders are super easy to make, so you can enjoy a gourmet meal without the hassle. If you’re looking for more creative ideas, check out this Pizza Burger Pie with Beef Pepperoni for a fun twist or Smoky Chipotle Burger Patties for a bold, smoky flavor. Whether you’re hosting a party, feeding the family, or just treating yourself, these sliders offer the perfect balance of savory goodness. You can even get creative with your toppings and sauces! Keep reading for all the tips and tricks on how to make these Cheeseburger Sliders the star of your next meal. Trust me, you’re going to love them!
The Best Ingredients for Flavorful Cheeseburger Sliders
Essential Beef Choices for Juicy Sliders
When it comes to making your Cheeseburger Sliders juicy and delicious, the beef you choose is key. Go for ground beef with a bit of fat, around 80/20 (80% lean, 20% fat). This fat content helps the sliders stay moist and flavorful while cooking. For the best results, freshly ground beef is always a great option. If you want an even more tender texture, you can opt for ground chuck, which has a higher fat content. Don’t forget to season generously with salt and pepper before forming your patties!
Enhancing Flavor with Tasty Cheese Options
Cheese is where the magic happens! Whether you’re a fan of classic American cheese or looking for something extra flavorful, the choice of cheese makes all the difference. Try sharp cheddar for a bold, tangy taste or creamy mozzarella for a smooth, melty texture. You can even experiment with different cheeses like gouda, pepper jack, or swiss for a fun twist. Just make sure to melt it perfectly on top of the slider for that gooey, irresistible bite.
| Cheese Type | Flavor Profile | Best Paired With |
|---|---|---|
| American | Mild, creamy | Classic cheeseburger |
| Cheddar | Sharp, tangy | Smoky bacon toppings |
| Swiss | Nutty, mild | Caramelized onions |
| Pepper Jack | Spicy, creamy | Jalapeño toppings |
How to Prepare Cheeseburger Sliders for Maximum Taste
Perfect Patty Formation Tips
Making the perfect patty is crucial for great Cheeseburger Sliders. First, shape the patties into smaller, bite-sized rounds that fit perfectly on your slider buns. You want them to be about 1/2 inch thick, as they’ll shrink a little while cooking. For even cooking, press a small dimple in the center of each patty to prevent puffing up. Keep the meat loose and avoid overworking it to maintain that juicy, tender texture.
Toasting the Slider Buns to Perfection
Don’t forget the buns! Toasting them before assembling your sliders makes all the difference in flavor and texture. Here’s how to do it perfectly:
- Butter the Buns: Lightly butter the cut sides of your buns.
- Toast Over Medium Heat: Place them on a skillet or griddle for 1-2 minutes, until golden and crispy.
- Use Fresh Buns: Choose soft, fresh slider buns that complement the rich flavor of the beef.
| Toasting Tip | Purpose | Result |
|---|---|---|
| Butter the buns | Adds richness and crunch | Golden, crispy exterior |
| Medium heat | Prevents burning | Evenly toasted buns |
| Fresh buns | Soft texture to absorb juices | Soft and pillowy inside |
Creative Variations to Elevate Your Cheeseburger Sliders
Experimenting with Toppings Beyond Classic Lettuce & Tomato
While lettuce and tomato are classic slider toppings, there’s a whole world of other delicious options to explore. Try adding:
- Caramelized Onions: Sweet and savory with a rich depth of flavor.
- Avocado: Creamy and fresh, a perfect match for the rich beef.
- Pickles: Add a tangy crunch that complements the flavors perfectly.
- Bacon: For an extra crispy and smoky finish.
Adding Unique Sauces for Extra Flavor
Sauces take your Cheeseburger Sliders to a whole new level. Mix and match these ideas:
- BBQ Sauce: Sweet and smoky, perfect for a Southern twist.
- Garlic Aioli: A creamy and savory option to balance the spice.
- Spicy Mayo: Kick up the heat for a little extra zing.
- Ranch Dressing: Cool and creamy, great with bacon and veggies.
| Topping Type | Flavor Experience | Ideal Pairing |
|---|---|---|
| Caramelized Onions | Sweet & savory | Sharp cheddar cheese |
| Avocado | Creamy, mild | Jalapeño or bacon |
| Pickles | Tangy crunch | Pepper Jack cheese |
| Bacon | Smoky & crispy | BBQ sauce |
Serving Suggestions to Make Your Cheeseburger Sliders Shine
Ideal Sides to Pair with Cheeseburger Sliders
Pair your Cheeseburger Sliders with sides that complement their savory flavor. Try:
- Sweet Potato Fries: Crispy and slightly sweet, a great contrast to the richness of the sliders.
- Coleslaw: Creamy, tangy, and refreshing, adding balance to the meal.
- Pickled Vegetables: The tanginess enhances the flavors of the beef and cheese.
- Corn on the Cob: A simple, buttery side that’s a crowd-pleaser.
Plating Your Sliders for a Party-Worthy Presentation
Presentation is key when serving Cheeseburger Sliders at a gathering. Here are some simple tips:
- Serve on a Wooden Board: For a rustic, gourmet touch.
- Garnish with Fresh Herbs: Add a pop of color with parsley or arugula.
- Use Mini Skewers: Secure the sliders with mini skewers to keep them together and make them easy to grab.
- Create a Slider Bar: Set up a toppings station for guests to build their own sliders.
| Side Dish | Flavor Profile | Serving Style |
|---|---|---|
| Sweet Potato Fries | Crispy, slightly sweet | Serve in a basket |
| Coleslaw | Creamy, tangy | Serve in a bowl |
| Pickled Veggies | Tangy, crunchy | Serve on a platter |
| Corn on the Cob | Buttery, savory | Serve on the cob |
Now that you know all the secret ingredients and tips, let’s roll up our sleeves and start cooking those mouthwatering Classic Cheeseburger Sliders—your taste buds are in for a treat!
Ingredients
Every great cheeseburger slider starts with top-notch ingredients. Here’s what you’ll need and why they matter:

- Lean Ground Beef (2 lbs) – The heart of your cheeseburger sliders! Using lean beef keeps them juicy without too much grease.
- Garlic Powder (2 tsp) – Adds a punch of savory depth. Every bite gets a warm, garlicky boost!
- Kosher Salt (1 tsp) – Helps bring out the natural flavors of the beef, making each slider taste even better.
- Ground Black Pepper (2 tsp) – A little spice goes a long way. It enhances the beef’s flavor without overpowering it.
- Olive Oil (1 tbsp) – Keeps everything from sticking and adds a subtle richness to the mix.
- White Onion, Diced (1/2) – Adds sweetness and a slight crunch. It also keeps the patties moist!
- Hawaiian Rolls (12 slider-sized) – These soft, slightly sweet buns balance the savory meat and melted cheese perfectly.
- Cheese Snack Bars (12, 3/4 oz each) – Melty, gooey cheese makes everything better. Choose your favorite flavor!
For the Glaze (Optional):
- Unsalted Butter, Melted (1/4 cup) – Brings a rich, buttery finish to the sliders.
- Kosher Salt (1/2 tsp) – Balances the sweetness in the glaze.
- Brown Sugar (2 tbsp) – Adds a slight caramelized touch for extra depth of flavor.
- Soy Sauce (3 tsp, as a Worcestershire substitute) – Delivers that umami kick while keeping things pork-free.
- Dijon Mustard (2 tbsp) – A tangy contrast that enhances the overall taste.
- Sesame Seeds (1/2 tbsp) – Give a slight crunch and a classic burger bun look.
Step-by-Step Instructions
Follow these simple steps to create the ultimate cheeseburger sliders:
- Prepare the Beef Mixture – In a large bowl, mix the ground beef, garlic powder, salt, and pepper. Gently fold in the diced onion for extra moisture and flavor.

- Cook the Beef – Heat olive oil in a skillet over medium heat. Add the beef mixture and cook until browned, stirring occasionally to break it up.

- Assemble the Sliders – Slice the Hawaiian rolls in half, keeping them attached. Place the bottom halves in a baking dish.

- Layer the Ingredients – Spread the cooked beef evenly over the rolls. Add a slice of cheese on each, then place the top buns over them.

- Prepare the Glaze – Mix melted butter, salt, brown sugar, soy sauce, and Dijon mustard. Brush it generously over the sliders, then sprinkle sesame seeds on top.

- Bake to Perfection – Cover with foil and bake at 350°F for 15 minutes. Remove foil and bake for another 5 minutes until golden and melty.

- Serve and Enjoy – Let them cool slightly before cutting into individual sliders. Enjoy while warm!

Serving
This recipe makes 12 sliders, perfect for sharing!
- Serve with: Crispy fries, a fresh green salad, or pickles for extra crunch.
- Pair with: Iced tea, lemonade, or a fizzy soda.
- Fun twist: Add grilled mushrooms, caramelized onions, or jalapeños for variety.
Tips and Hacks
- Want extra juicy sliders? Mix a tablespoon of mayo into the beef before cooking.
- Need a faster method? Use pre-cooked beef crumbles to save time.
- Make-ahead tip: Assemble the sliders, cover, and refrigerate. Bake when ready!
- Leftover storage: Keep in an airtight container in the fridge for up to 3 days. Reheat in the oven at 300°F.
Nutrition Facts
- Serving Size: 1 slider
- Calories: ~250
- Fat: ~12g
- Carbs: ~20g
- Protein: ~14g
- Sodium: ~350mg
- Fiber: ~1g
Note: Nutrition values vary based on ingredient brands and portion sizes.
Prep Time
- Prep Time: 15 minutes
- Cook Time: 20 minutes
- Total Time: 35 minutes
Note: Times may vary depending on your cooking method.
What to Serve with Classic Cheeseburger Sliders
- Grilled Potato Wedges Recipe: Crispy and flavorful, the perfect side for any burger.
- Creamy Mushroom and Spinach Stuffed Chicken: A hearty dish to complement your sliders.
- Buffalo Chicken Dip Recipe: A spicy, creamy dip to serve alongside sliders.
- My Grandma’s Best Potato Salad Recipe: A classic pairing with burgers and sliders.
- Holiday Roast Beef with Garlic Herb Butter: A savory and sweet side dish option.
Frequently Asked Questions (FAQs)
Sliders are super versatile, so pairing options are endless! You can serve them with crispy fries or potato wedges. A fresh side salad also works if you want something lighter. For a fun twist, try sweet potato fries or onion rings. Need a dip? Ketchup, mayo, or ranch is perfect. Don’t forget coleslaw! It adds a crunchy, tangy touch to balance the sliders.
Absolutely! Hawaiian rolls are perfect for cheeseburger sliders. They’re soft, sweet, and just the right size. That sweet flavor complements savory burger patties so well. Plus, they hold up great, even with sauces and toppings. Toast them lightly for a nice texture. Honestly, they make your sliders feel extra special, like a treat. Give them a try—you’ll see what I mean!
The main difference is size. Sliders are smaller, bite-sized burgers, while hamburgers are bigger and more filling. Sliders are perfect for parties because they’re easy to grab and eat. Another fun fact: sliders are often served in multiples, so you can enjoy more variety. It’s like having mini-burgers, which makes them way more fun to share with friends or family.
The name “sliders” comes from their history in the U.S. Navy. Sailors said small burgers slid easily across greasy griddles during rough seas. Over time, “sliders” became a term for tiny, flavorful burgers. Today, it’s all about their fun size and how effortlessly you can eat them. They’re bite-sized, delicious, and always a hit at any gathering. Isn’t that a fun story?
Time to Enjoy Your Perfect Cheeseburger Sliders!
Now that you’ve got the scoop on cheeseburger sliders, it’s time to dig in. These bite-sized treats are perfect for any occasion. First, they’re super easy to make. Next, they’re a crowd-pleaser, whether it’s a family dinner or a party snack. You can get creative with toppings to make them your own. Also, sliders are fun to eat—who doesn’t love mini burgers?
Pair them with your favorite sides like fries or coleslaw for a complete meal. If you’re craving something different, why not try a Copycat Chick-fil-A Chicken Sandwich or a savory Garlic Butter Beef Chops with Cheesy Potato Bake alongside? Don’t forget to toast the buns for that extra touch of flavor. Cheeseburger sliders are all about simple, delicious fun. They’re small, flavorful, and guaranteed to disappear fast.
So, grab your ingredients and start cooking. You’re going to love making these as much as eating them. Go ahead and treat yourself—you deserve it! Cheeseburger sliders are here to make your meals unforgettable.