How to Make Bread Without an Oven: Simple Stovetop Recipe
Have you ever craved fresh, homemade bread but felt overwhelmed by the thought of using an oven? Let’s be real—it can feel like a lot of work! Here’s the good news: you can whip up delicious, fluffy bread right on your stovetop, no oven needed. That’s right, this recipe for no oven stove top bread is a total game-changer. Whether you’re short on time, dealing with a broken oven, or just looking for a simpler way to bake, this method is perfect. Plus, it’s beginner-friendly and doesn’t require fancy equipment, so anyone can make it.
But wait—it gets better. This bread isn’t just easy to make; it’s also wonderfully versatile. Use it for sandwiches, as a dinner side, or even to satisfy a quick snack craving. Pair it with dishes like Sheet Pan Sausage and Veggies for a hearty meal, or enjoy it with Peanut Butter Pancakes for a fun breakfast twist. The soft texture and golden crust are irresistible! Ready to dive in? Let’s get started and make bread magic happen!
Delicious Stovetop Bread: A Simple Guide
Achieving a Crispy Crust
Getting that perfectly crispy crust on your no-oven stovetop bread might seem tricky, but it’s easier than you think! The secret lies in a well-preheated pan. First, choose a heavy-bottomed skillet or pot with a lid to ensure even heat distribution. Next, preheat your pan on low to medium heat for 5-7 minutes before placing your dough inside. Then, cover it with a tight-fitting lid to trap the heat and moisture—this creates a mini-oven effect. For more creative bread ideas, check out The Ultimate Guide to Clam Chowder Bread Bowls to explore unique ways to enjoy homemade bread.
To make the crust extra crispy, resist the urge to peek! Let the bread cook undisturbed for about 15 minutes before flipping. Finally, add a few extra minutes of cooking with the lid off to let the crust firm up.
Quick Tips:
- Use a lid for steam.
- Preheat for even cooking.
- Don’t rush the flipping!
| Step | Time Needed | Tips |
|---|---|---|
| Preheating Pan | 5-7 mins | Use low-medium heat. |
| Cooking First Side | 15 mins | Keep lid on for best crust. |
| Cooking Second Side | 10 mins | Lid off for crisp finish. |
Adapting Recipes for Different Pans
Not all pans are created equal, but don’t worry—you can still make amazing no oven stove top bread! Cast iron, stainless steel, or nonstick pans each bring their own advantages. Cast iron is ideal for even cooking and a golden crust, while nonstick pans are great for easy flipping.
The trick is to adjust your heat levels based on the pan. For example, cast iron retains heat longer, so you can use lower heat after preheating. Stainless steel requires a well-oiled surface to prevent sticking, and nonstick pans often need slightly higher heat for browning.
Pan Types and Adjustments:
| Pan Type | Heat Level | Key Tips |
|---|---|---|
| Cast Iron | Medium-Low | Preheat longer for even heat. |
| Stainless Steel | Medium | Oil well to avoid sticking. |
| Nonstick | Medium-High | Flip gently to protect coating. |
Experiment with what you have—it’s all part of the fun!
Stovetop Bread Baking: A Beginner-Friendly Approach
Troubleshooting Common Issues
Every great recipe has its learning curve, and no oven stove top bread is no exception. First, if your bread turns out dense, the dough might need more proofing time. Let it rise until it doubles in size. Next, if the bottom burns while the top stays pale, lower the heat and cook longer with the lid on to balance the heat.
Sticking to the pan? A quick fix is to use parchment paper or grease the surface well. Also, uneven cooking could mean your pan isn’t preheating evenly—try rotating the pan or using a heat diffuser.
Common Problems and Solutions:
| Issue | Cause | Solution |
|---|---|---|
| Bread is dense | Underproofed dough | Let it rise longer. |
| Bottom burns, top pale | Heat too high | Lower heat, cook with the lid. |
| Bread sticks to the pan | Poorly greased surface | Grease well or use parchment paper. |
Mastering the Flip
Flipping bread on the stovetop can feel like a challenge, but it’s all about confidence and the right technique. First, ensure the bread is cooked enough on the first side. It should slide easily when you shake the pan gently.
Use a large spatula or flat plate to support the bread. Place the plate over the pan, invert the bread onto the plate, and then slide it back into the pan to cook the other side. Also, practice makes perfect—each flip will be better than the last!
Flipping Tips:
- Cook the first side fully before flipping.
- Shake the pan to check for sticking.
- Use a plate for a safer flip.
- Slide the bread back gently to avoid breaking.
| Step | Tools Needed | Key Tip |
|---|---|---|
| Check readiness | Pan, spatula | Ensure no sticking before flipping. |
| Invert on plate | Flat plate, spatula | Use a quick but careful motion. |
| Return to pan | Pan, spatula | Slide gently to avoid tearing. |
The Versatility of Stovetop Bread
Serving Suggestions for Every Meal
Stovetop bread is incredibly versatile, making it a perfect choice for any meal. For breakfast, pair it with eggs or spread some butter and honey for a sweet treat. At lunch, it’s great for sandwiches—think cheese melts or veggie wraps. Dinner? Use it as a side for soups or curries.
You can even go creative and turn it into a base for quick pizzas. Just top the bread with sauce, cheese, and your favorite veggies, then heat until the cheese melts. This bread truly adapts to your needs, adding a homemade touch to every dish.
| Meal | Serving Idea | Toppings/Pairings |
|---|---|---|
| Breakfast | Butter and jam | Honey, cream cheese, or eggs |
| Lunch | Sandwich base | Veggies, cheese, or spreads |
| Dinner | Soup side | Dips, curries, or stews |
| Snacks | Pizza base | Sauce, cheese, and veggies |
Creating Unique Dips and Spreads
What’s bread without the perfect dip? Stovetop bread shines when paired with flavorful spreads. You can whip up creamy hummus, zesty salsa, or even a quick guacamole. First, choose a dip that matches your meal. For savory meals, garlic butter or herbed yogurt is a winner.
Next, consider customizing your spreads. Add spices, herbs, or a squeeze of lemon to elevate the flavors. Finally, serve the bread warm to make each bite more satisfying.
Popular Dips for Stovetop Bread:
- Hummus (classic or spiced).
- Garlic butter with parsley.
- Herbed yogurt with mint.
- Creamy avocado dip (guacamole).
| Dip/Spread | Flavor Profile | Best Meal Pairing |
|---|---|---|
| Hummus | Savory, creamy | Lunch, dinner, snacks |
| Garlic Butter | Rich, savory | Breakfast, dinner |
| Herbed Yogurt | Cool, tangy | Dinner or side |
Baking Bread on the Stovetop: A Convenient Alternative
Benefits of Stovetop Bread Making
Making no oven stovetop bread has some amazing benefits. First, it saves time—you don’t have to wait for an oven to preheat. Next, it uses less energy, which is great if you’re trying to save on electricity. Plus, it’s beginner-friendly because you don’t need fancy tools. If you’re new to breadmaking, check out this Cheat’s Sourdough Guide for helpful tips and tricks.
In addition, stovetop breadmaking is adaptable. You can bake small batches or experiment with different flavors. Also, it’s perfect for warm climates where using an oven might be uncomfortable. This method gives you fresh, delicious bread without all the fuss. For a unique twist, try this Cloud Bread Pizza recipe—it’s low-carb, gluten-free, and perfect for stovetop cooking!
| Benefit | Description | Why It Matters |
|---|---|---|
| Saves time | No oven preheating needed | Quick and easy. |
| Energy-efficient | Less power consumption | Budget and eco-friendly. |
| Beginner-friendly | Simple tools required | Great for new bakers. |
Essential Tools and Equipment
To make perfect no oven stove top bread, you’ll need a few key tools. A heavy-bottomed pan or skillet is a must for even cooking. Next, a tight-fitting lid helps trap heat for proper baking. A silicone spatula or wooden spoon makes mixing easier.
Also, keep parchment paper handy to prevent sticking, and a plate for flipping. Each tool simplifies the process, ensuring great results every time.
Tools Checklist:
- Heavy-bottomed pan.
- Tight-fitting lid.
- Mixing spoon or spatula.
- Parchment paper (optional).
- Plate for flipping.
| Tool | Purpose | Why It’s Important |
|---|---|---|
| Heavy pan | Even heat distribution | Prevents burning. |
| Tight lid | Traps heat and moisture | Ensures fluffy bread. |
| Spatula | Easy mixing and flipping | Simplifies handling. |
Now that you’ve mastered the art of stovetop bread, it’s time to sweeten things up—let’s dive into the irresistibly soft and oh-so-easy Fluffy Honey Butter Flatbread recipe
Ingredients
Making no oven stove top bread has never been this fun or easy! Let’s break down the ingredients with a little personality:
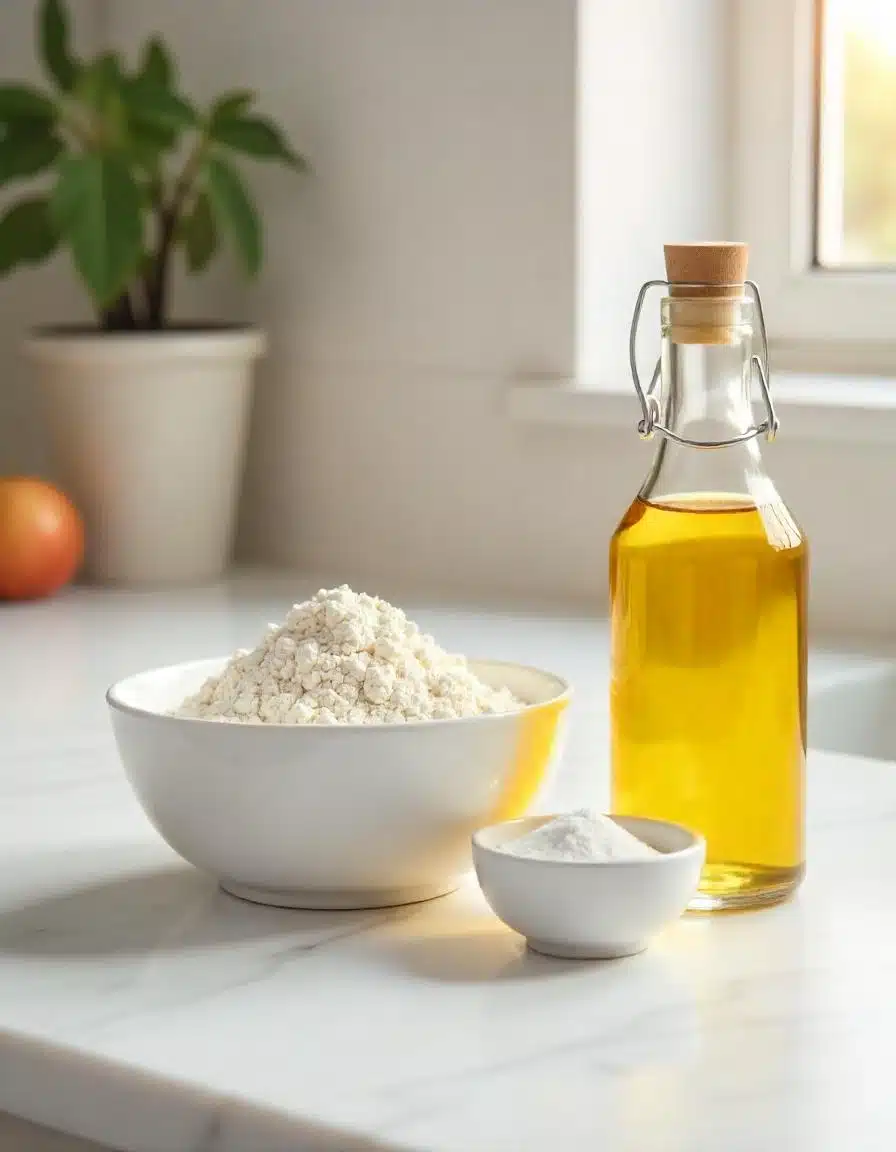
- Plain/All-Purpose Flour – This is the hero of our bread! It’s what gives the flatbread its structure and fluffiness. First, make sure to measure it accurately for the best results. A tightly packed cup is perfect for consistency.
- Plain Natural Yogurt (Unsweetened) – This magical ingredient adds softness and a slight tangy flavor. Next, it keeps the bread moist while helping it puff up beautifully during cooking. Plus, no need for extra water—it does all the work!
- Baking Powder (Not Baking Soda!) – Here’s where the magic happens. This ingredient makes the bread rise just enough to be light and airy. Always double-check your pantry for baking powder—it’s the key to success.
- Salt – A tiny amount of salt makes a big difference! It enhances the natural flavors and balances the tanginess of the yogurt. Also, don’t skip this—it’s what transforms bland dough into something delightful.
- Olive Oil (Optional) – If you love a slightly richer taste and a softer crust, drizzle in some olive oil. It also helps with that perfect golden brown finish when frying.
Step-by-Step Instructions
Get ready to whip up the fluffiest no oven stove top bread you’ve ever had! Follow these easy steps:
- Combine the Dry Ingredients
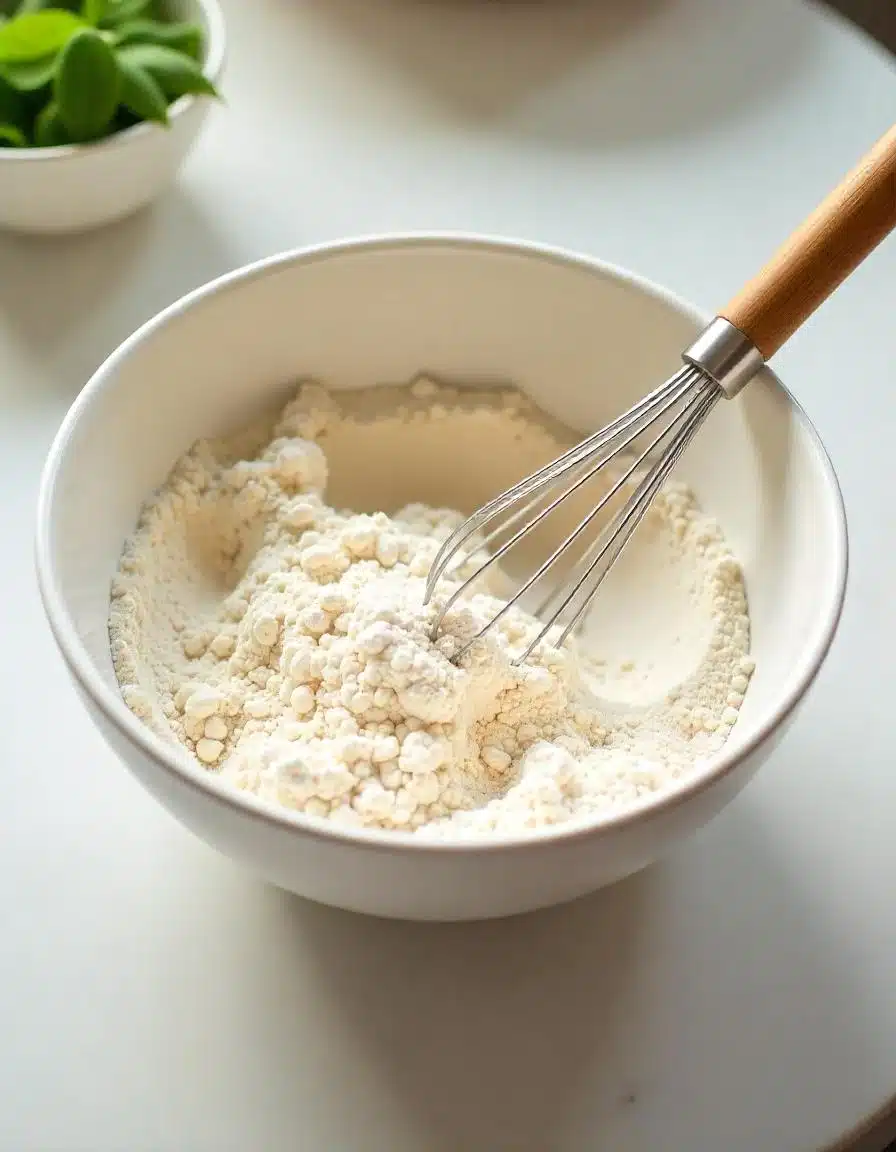
Start by whisking the flour, baking powder, and salt in a large mixing bowl. This ensures the baking powder is evenly distributed for a consistent rise.
- Mix in the Yogurt
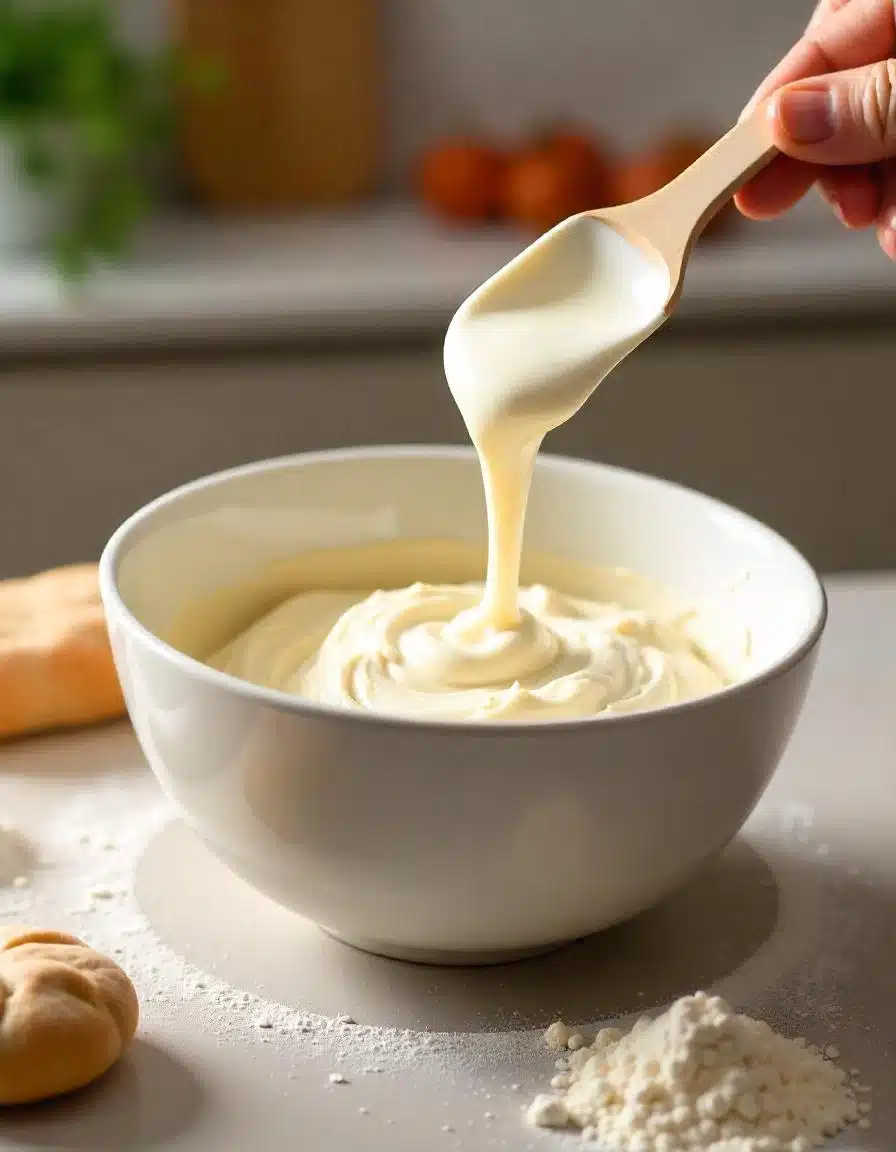
Next, add the plain yogurt into the bowl. Use a spatula or your hands to mix until a dough forms. If it feels sticky, sprinkle in a little more flour. Knead gently for about 2-3 minutes.
- Divide and Roll the Dough
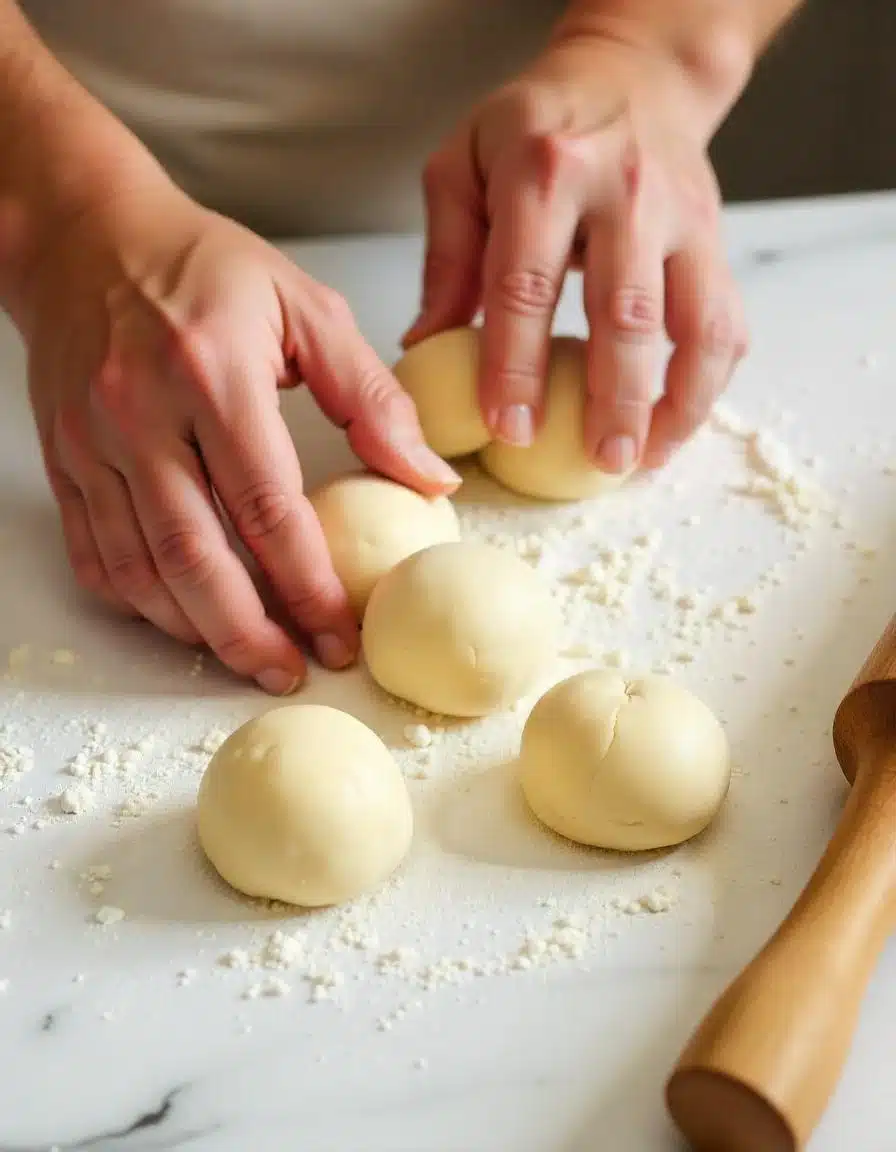
Divide the dough into equal portions (about 4-5 pieces). Then, roll each piece into a ball. Use a rolling pin to flatten each one into a ¼-inch thick circle. Don’t worry if it’s not perfect—rustic shapes add charm!
- Cook the Flatbread
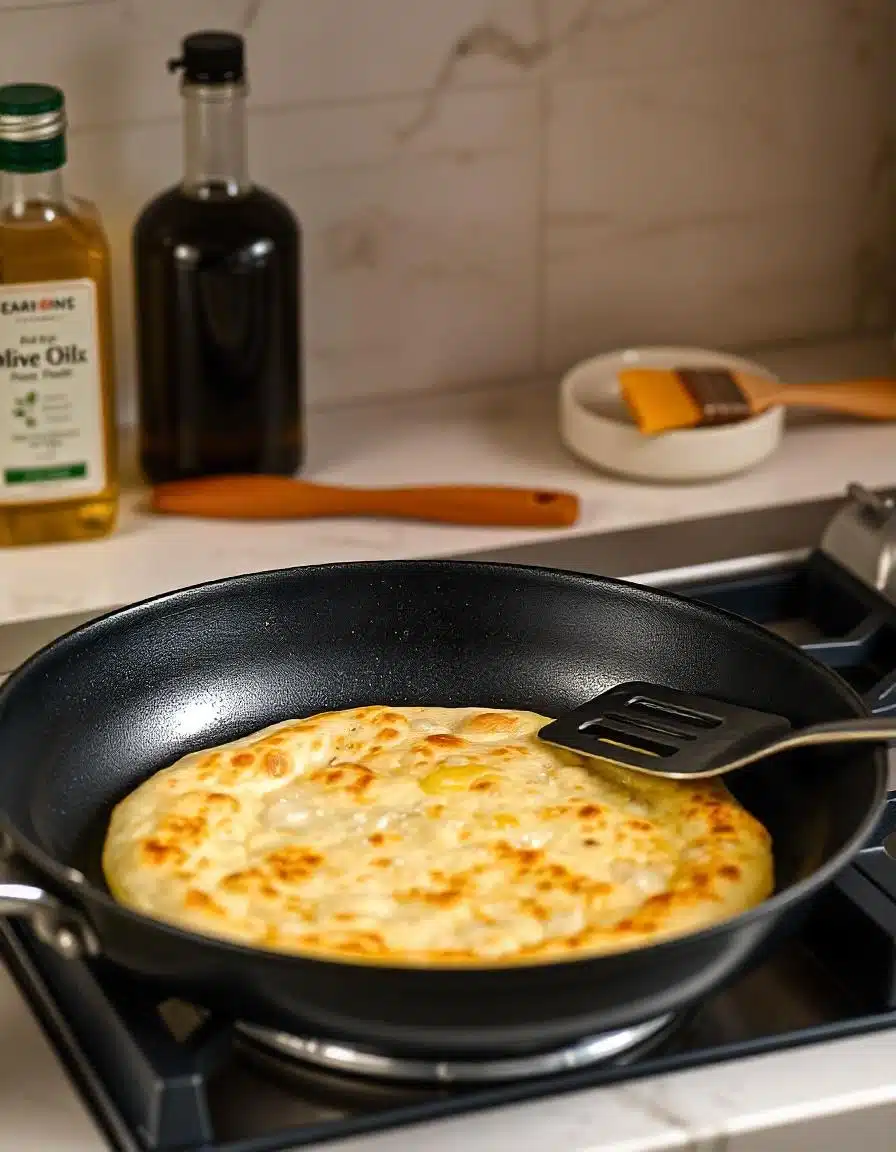
Heat a frying pan on medium heat. Brush a little olive oil on the pan, then place one flatbread in. Cook for about 2 minutes on one side until bubbles appear. Flip with tongs and cook for another 2 minutes until golden brown.
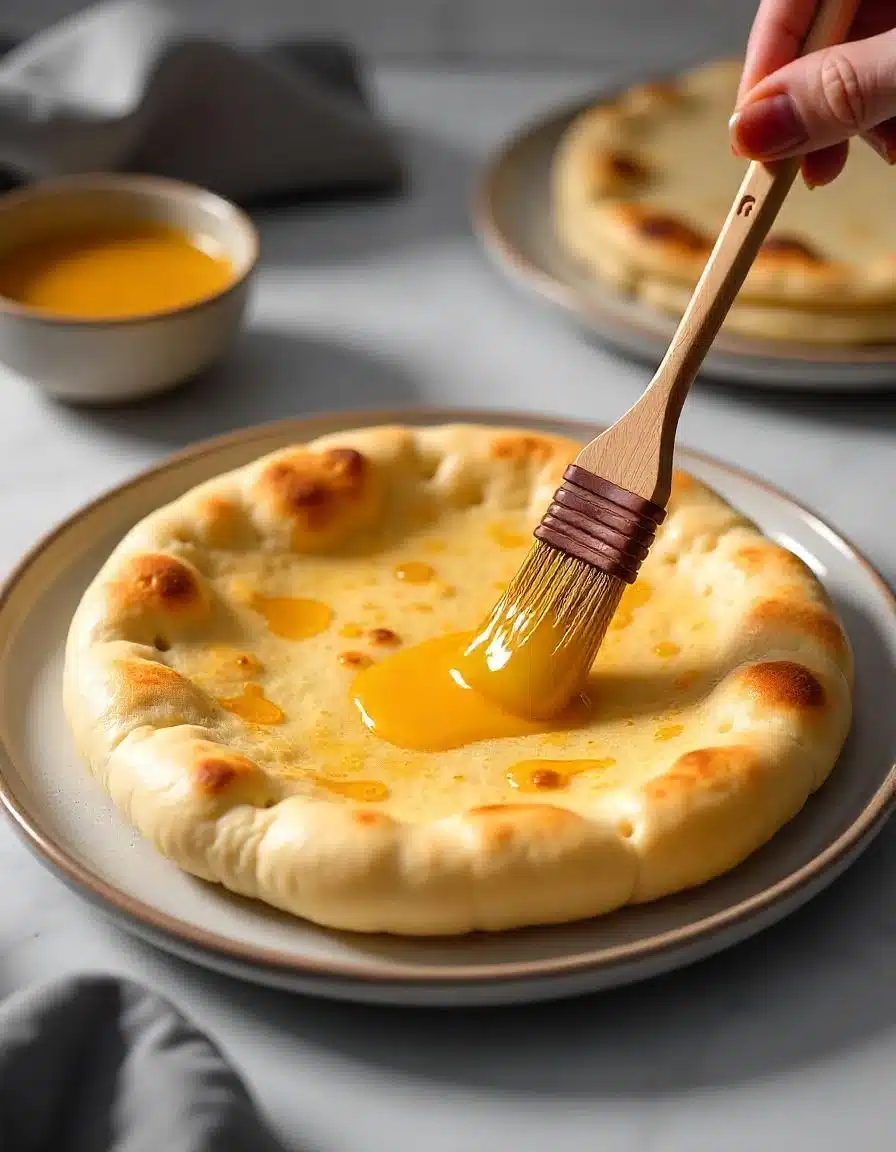
- Brush with Honey Butter (Optional)
For extra flavor, mix honey and melted butter, and brush it onto the warm flatbread. The sweetness pairs beautifully with the slight tang from the yogurt.
Serving
This recipe serves 4-5 people, depending on how hungry everyone is! Here’s how to make the most of your no oven stove top bread:
- Serve it Fresh – Enjoy it warm, straight from the pan. Pair it with soups, curries, or salads for a complete meal.
- Get Creative – Use it as a wrap for your favorite fillings. It’s perfect for sandwiches or as a base for mini pizzas.
- Optional Garnishes – Add a sprinkle of fresh herbs, like parsley or cilantro, for a burst of color and flavor.
For a fun twist, you can even turn it into a sweet treat! Spread it with Nutella or drizzle with honey and a sprinkle of cinnamon.

Tips and Hacks
Want to make your no oven stove top bread even better? Check out these handy tips:
- Control the Heat – Keep the heat medium to low. This prevents burning and ensures the bread cooks evenly.
- Add Flavors – Mix in some dried herbs, minced garlic, or grated cheese to the dough for extra flavor.
- Experiment with Sizes – Make mini versions for bite-sized snacks, or larger ones for wraps and sandwiches.
- Storage Tips – Store cooled flatbread in an airtight container for up to two days. Reheat on a dry pan for that fresh taste.
Nutrition Facts
Serving size: 1 flatbread
Calories: 140
Fat: 4g
Carbs: 21g
Protein: 4g
Sodium: 210mg
Fiber: 1g
Please note: These values are approximate and may vary based on ingredient brands and portion sizes.
Prep Time
Prep time: 10 minutes
Cook time: 15 minutes
Total time: 25 minutes
Please note: Prep time may vary depending on your dough-rolling skills—it’s all part of the fun!
What to Serve with Fluffy Honey Butter Flatbread
- Effortless Veggie Omelette Roll
A quick, protein-packed option to pair with your flatbread for a wholesome breakfast or brunch. - Simple Blueberry Syrup Recipe
Sweet and tangy syrup that takes your flatbread from savory to dessert-worthy in seconds. - Grilled Potato Wedges Recipe
Crispy, flavorful potato wedges that make the perfect side for any flatbread meal. - Easy Pear Salad Recipe
A light, refreshing salad to balance the richness of the flatbread. - Spinach Artichoke Dip Recipe
Creamy and cheesy dip that turns your flatbread into a crowd-pleasing appetizer.
Frequently Asked Questions (FAQs)
Absolutely! Baking bread on a stovetop is simple and fun. It’s perfect when you don’t have an oven. All you need is a sturdy pan with a tight-fitting lid. The lid traps heat, creating an oven-like environment. First, preheat the pan. Then, cook the dough on one side before flipping it. No oven stove top bread is a tasty and practical solution!
You can easily bake on a stovetop without an oven using a pan or pot with a lid. First, preheat the pan to distribute heat evenly. Then, place your dough inside and cover it with the lid to trap heat. Flip it midway for even cooking. With no oven stove top bread, you’ll get homemade results without extra hassle or equipment!
Yes, you can make bread without an oven! Using a heavy-bottomed pan, you can achieve fantastic results. First, preheat the pan, then add the dough and cover it. This creates steam, mimicking an oven. Flip the bread after a few minutes to cook both sides evenly. Making no oven stove top bread is a creative and delicious alternative to traditional baking!
Baking on the stovetop is easier than you think. First, preheat a heavy-bottomed pan on medium heat. Then, place your dough inside and cover it with a lid. The lid traps heat, helping the bread cook evenly. Flip it once for even browning on both sides. With no oven stove top bread, you’ll enjoy fresh, homemade bread in no time!
Discover the Joy of Homemade Bread: Easy Stovetop Recipes
Making no oven stovetop bread is a fun and easy way to enjoy fresh bread at home. First, you only need a pan and a lid. Next, preheat the pan to create an oven-like environment. Then, cook the dough on one side before flipping it. You’ll love how simple it is!
In addition, this method is perfect for beginners. You don’t need fancy tools or an oven. Also, you can change the recipe however you like. For example, add herbs or cheese for extra flavor. It’s like a fun little challenge! If you’re feeling adventurous, try stuffing your bread with sweet fillings like ube halaya for a unique twist.
Finally, stovetop bread is filling and delicious. You’ll feel proud of your homemade creation. Plus, it’s a great way to try baking without an oven. You’re going to love this! Give it a try and discover the joy of no oven stovetop bread today!
Print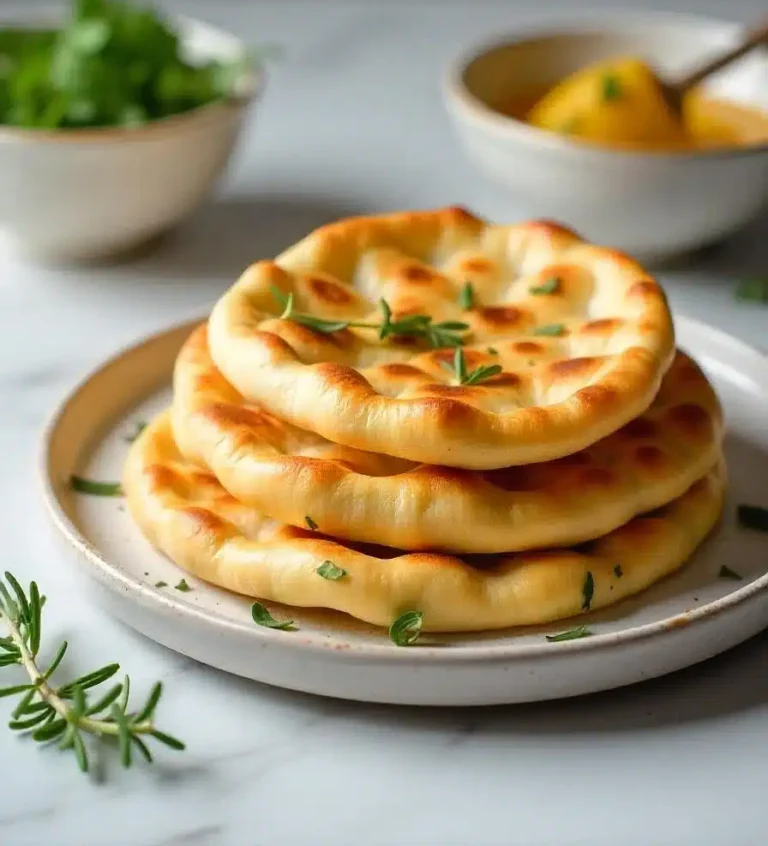
No Oven Stovetop Bread: Easy Homemade Bread Recipe Without an Oven
Craving fresh, homemade bread but don’t have an oven? No problem! This no-oven stovetop bread recipe is a game-changer. Perfect for beginners, it’s quick, easy, and requires no fancy equipment. With just a pan and a lid, you can whip up fluffy, golden-brown bread that’s perfect for sandwiches, snacks, or as a side dish. Plus, it’s versatile—add herbs, cheese, or even sweet fillings like ube halaya for a unique twist. Ready to make bread magic happen? Let’s get started!
- Total Time: 25 minutes
- Yield: 4-5 flatbreads
Ingredients
- Plain/All-Purpose Flour – 2 cups (240g)
- Plain Natural Yogurt (Unsweetened) – 1 cup (240g)
- Baking Powder – 1 tsp (5g)
- Salt – ½ tsp (3g)
- Olive Oil (Optional) – 1 tbsp (15ml), for cooking
Instructions
- Combine the Dry Ingredients:
In a large mixing bowl, whisk together the flour, baking powder, and salt until evenly combined. - Mix in the Yogurt:
Add the plain yogurt to the dry ingredients. Use a spatula or your hands to mix until a dough forms. If the dough feels sticky, sprinkle in a little more flour. Knead gently for 2-3 minutes. - Divide and Roll the Dough:
Divide the dough into 4-5 equal portions. Roll each piece into a ball, then use a rolling pin to flatten into ¼-inch thick circles. Rustic shapes are fine! - Cook the Flatbread:
Heat a frying pan over medium heat. Brush the pan lightly with olive oil. Place one flatbread in the pan and cook for 2 minutes, or until bubbles form. Flip and cook for another 2 minutes until golden brown. - Brush with Honey Butter (Optional): Mix 1 tbsp honey with 1 tbsp melted butter. Brush the mixture onto the warm flatbread for a sweet, flavorful finish.
Notes
- Storage: Store cooled flatbread in an airtight container for up to 2 days. Reheat on a dry pan for best results.
- Customization: Add herbs, garlic, or cheese to the dough for extra flavor.
- Pan Tips: Use a heavy-bottomed pan (cast iron or nonstick) for even cooking. Adjust heat levels based on your pan type.
- Prep Time: 10 minutes
- Cook Time: 15 minutes
- Category: Bread, Side Dish
- Method: Stovetop
- Cuisine: International
- Diet: Vegetarian
Nutrition
- Serving Size: 1 flatbread
- Calories: 140
- Sodium: 210mg
- Fat: 4g
- Carbohydrates: 21g
- Fiber: 1g
- Protein: 4g
Keywords: no oven stovetop bread, stovetop bread recipe, homemade bread without oven, easy flatbread recipe, beginner-friendly bread, quick bread recipe, fluffy stovetop bread, bread on stovetop, no-oven baking, versatile bread recipe




Looks delicious! I love the step-by-step photos, it makes the recipe seem so much easier to follow. 😋
★★★★
Awesome combination of flavors and textures! Really it’s so delicious 🤤 😍
★★★★★