The Ultimate Pear Salad Guide: Sweet, Savory, and Irresistible
The Ultimate Pear Salad Guide: Sweet, Savory, and Irresistible
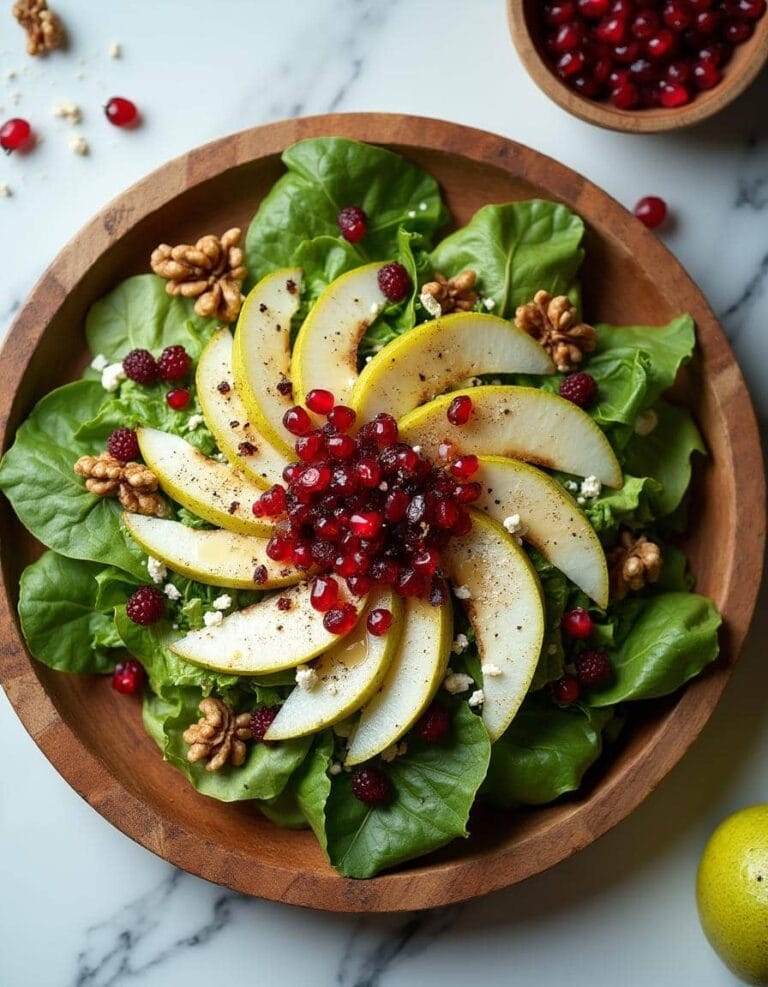
This Pear Salad is a perfect balance of sweet, tangy, creamy, and crunchy flavors. Featuring ripe pears, peppery greens, creamy cheese, toasted nuts, and a simple balsamic vinaigrette, it’s a fresh and elegant dish. Ideal for weeknight dinners, holiday tables, or a light lunch, this salad is quick to make and packed with nutrients.
- Total Time: 13 minutes
- Yield: 4 servings 1x
Ingredients
- 2 ripe Bartlett or Bosc pears, thinly sliced
- 4 cups arugula, spinach, or mixed greens
- ½ cup crumbled goat cheese or blue cheese
- ½ cup toasted walnuts or pecans
- ¼ cup dried cranberries or pomegranate seeds (optional)
- 3 tbsp olive oil
- 2 tbsp balsamic vinegar
- 1 tsp honey
- Salt and black pepper, to taste
Instructions
- Slice the Pears: Thinly slice the pears, leaving the skin on for texture and color. Toss with a little lemon juice to prevent browning.
- Toast the Nuts: Heat a dry skillet over medium heat and toast the nuts for 2-3 minutes until fragrant. Stir frequently to prevent burning.
- Make the Dressing: In a small bowl, whisk together olive oil, balsamic vinegar, honey, salt, and pepper. Adjust to taste.
- Assemble the Salad: Arrange greens in a large bowl or platter. Top with pear slices, crumbled cheese, toasted nuts, and optional dried fruit.
- Dress & Serve: Drizzle the balsamic vinaigrette over the salad just before serving. Toss gently and enjoy.
Notes
- Use ripe but firm pears for the best texture.
- Toasting nuts enhances their flavor—don’t skip this step!
- If making ahead, prep ingredients separately and assemble just before serving.
- Prep Time: 10 minutes
- Cook Time: 3 minutes
- Category: Salad
- Method: No-cook
- Cuisine: American, Mediterranean
- Diet: Vegetarian
Nutrition
- Serving Size: Per Serving
- Calories: 180
- Sugar: 8g
- Sodium: 150mg
- Fat: 10g
- Carbohydrates: 15g
- Fiber: 4g
- Protein: 6g
- Cholesterol: 10mgpear salad, goat cheese salad, balsamic vinaigrette, healthy salad, arugula salad, easy salad, fall salad, fresh salad, quick salad
Keywords: pear salad, goat cheese salad, balsamic vinaigrette, healthy salad, arugula salad, easy salad, fall salad, fresh salad, quick salad
I’ve Alright, let’s talk about Pear Salad. You know, that dish that seems simple but always ends up being the first thing gone at the table? Yeah, this is it. It’s sweet, a little tangy, and packed with layers of crunch and creaminess. The kind of salad that makes you feel fancy—even if you’re just eating it out of a mixing bowl on your couch (been there, no shame).
Honestly, this salad is perfect for everything. Weeknight dinners, holiday tables, or just a quick bite when you’re craving something fresh. Plus, it’s so versatile! You can pair it with something cozy, like this Lemon Butter Garlic Shrimp Pasta, or keep it super light alongside a fresh Mediterranean Quinoa Power Bowl. Let’s dig into why this salad deserves a spot on your plate (and in your heart).
Why Pear Salad Works Every Time
Let’s be real: salad doesn’t always get the love it deserves. But Pear Salad? It’s in a league of its own. Imagine biting into juicy, ripe pears paired with creamy goat cheese, crispy toasted nuts, and a tangy balsamic vinaigrette. Oh, and don’t forget the greens—they add that fresh, peppery balance that ties everything together.
Here’s why this salad is such a hit. First, the flavors are perfectly balanced. The sweetness of the pears plays off the tangy cheese, while the nuts add that satisfying crunch you didn’t even know you needed. And then there’s the dressing—a simple balsamic vinaigrette that brings it all together without stealing the spotlight.
And the best part? It’s quick to make. Like, “I just got home, and I need food now,” quick. Pair it with something hearty like Roasted Stuffed Bell Peppers, and you’ve got a meal that feels way more put-together than it probably is. Plus, it’s one of those recipes that works just as well for a dinner party as it does for a casual lunch.
What You’ll Need
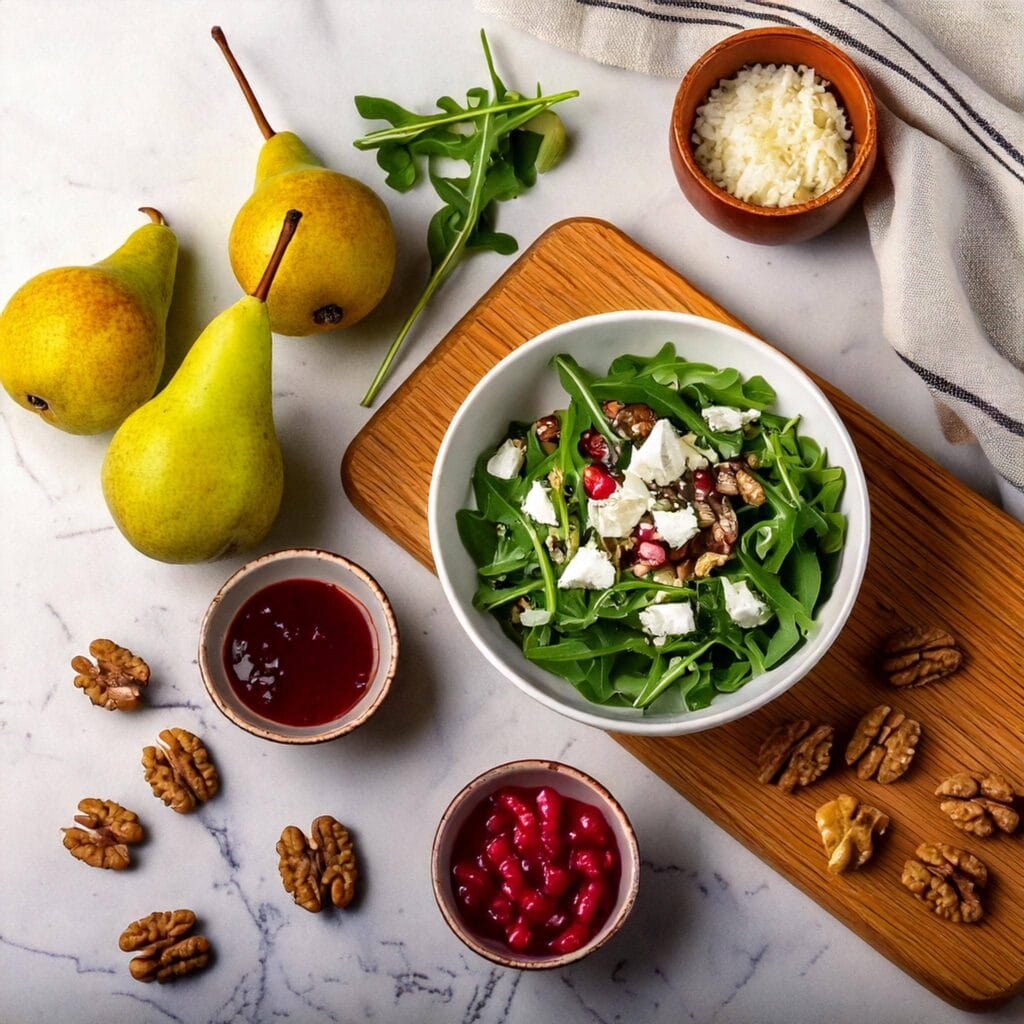
This isn’t one of those recipes with a mile-long ingredient list. You need just a few good, simple ingredients to make Pear Salad shine. But don’t let the simplicity fool you—every ingredient here pulls its weight to create a salad that feels fresh, flavorful, and just a little indulgent.
Ingredients
- Pears: Bartlett or Bosc work great—they’re sweet, juicy, and hold their shape. You want them ripe but not too soft. If you’re unsure, give the pear a gentle squeeze; it should have a little give but not feel mushy.
- Greens: Arugula for a peppery kick, or spinach if you like it a little milder. Mixed greens are also a great option if you want a bit of variety in your base.
- Cheese: Goat cheese or blue cheese—whichever makes your heart happy. Goat cheese is creamy and mild, while blue cheese adds a bold, tangy flavor that pairs beautifully with the sweet pears.
- Nuts: Toasted walnuts or pecans add the perfect crunch. If you’re feeling adventurous, candied nuts are a fun twist that adds a hint of sweetness.
- Dressing: A simple balsamic vinaigrette ties it all together. You can make your own (more on that later) or grab a store-bought version if you’re short on time.
- Extras (Optional): Dried cranberries or pomegranate seeds for extra pop and color. Both add a slight tartness that complements the sweetness of the pears.
Tools
- Sharp knife: Because pears are no fun to slice with a dull one.
- Salad spinner: Crispy greens make all the difference. Seriously, if you don’t have one of these, get one—it’s a game-changer.
- Whisk or fork: For mixing the dressing. Or use a small jar with a lid if you like to shake things up (literally).
- Big bowl: Because nobody wants salad flying everywhere while you toss it.
How to Throw It Together
This salad is as low-maintenance as it gets. No fancy techniques, no long prep time, just good ingredients doing their thing.
Step 1: Slice the Pears
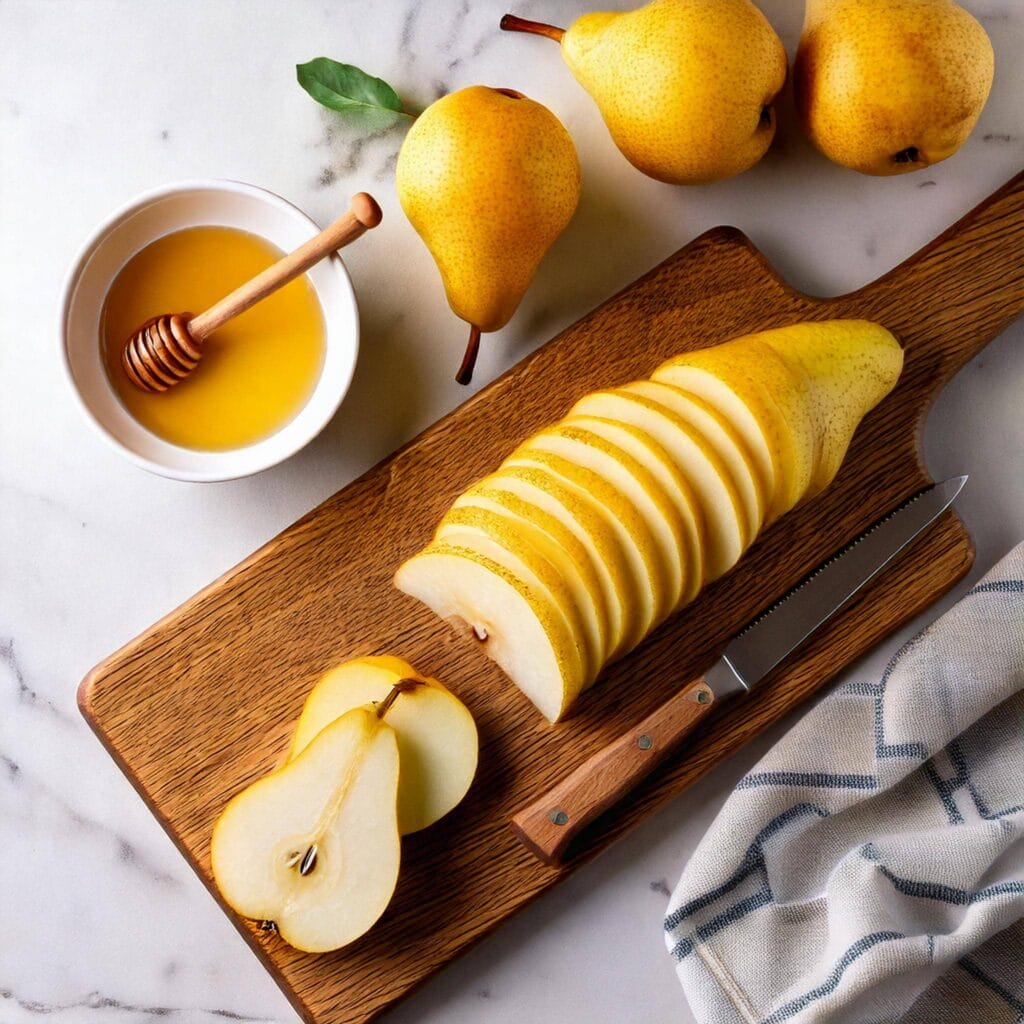
Thin slices work best—think about how you’d see it in a fancy restaurant. Leaving the skin on adds a pop of color and texture (and, let’s be honest, saves you the hassle of peeling). If you’re worried about them browning, toss the slices in a little lemon juice. This not only keeps them looking fresh but also adds a subtle zing to the flavor.
Step 2: Toast the Nuts
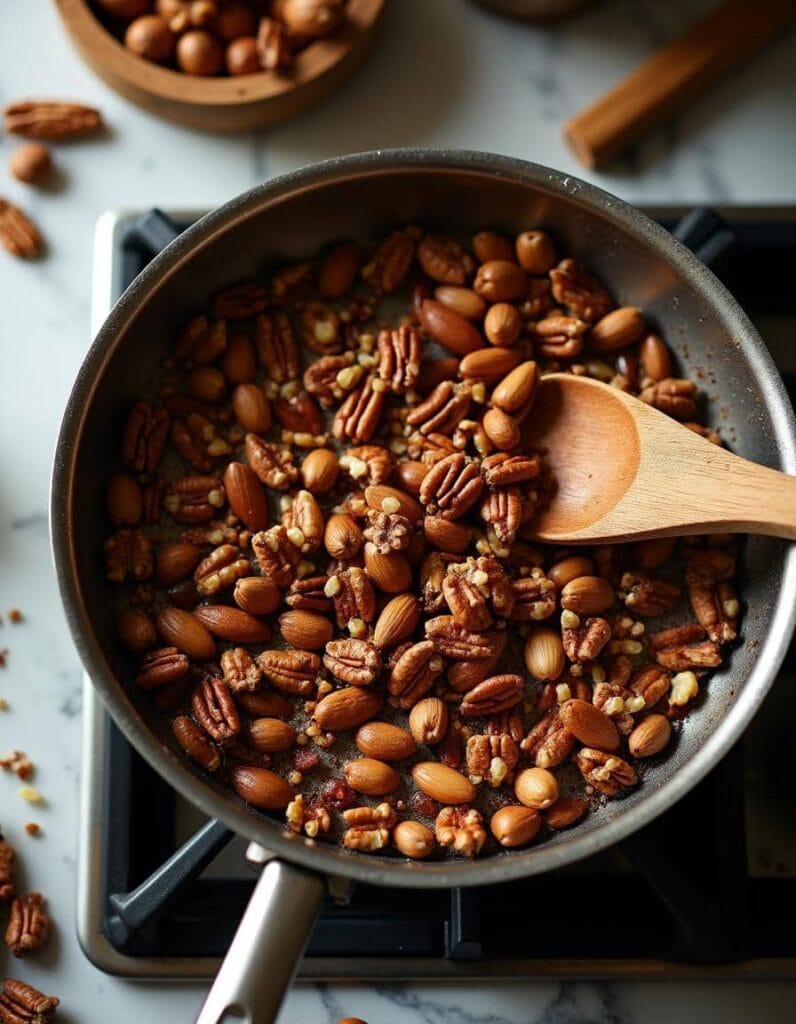
This step? Totally worth it. Toasting nuts brings out their natural oils and intensifies their flavor. Just toss the nuts in a dry skillet over medium heat for a few minutes. Stir often, and pull them off the heat as soon as they smell amazing. Pro tip: Keep an eye on them—they can go from perfectly toasted to burned in about two seconds.
Step 3: Whip Up the Dressing
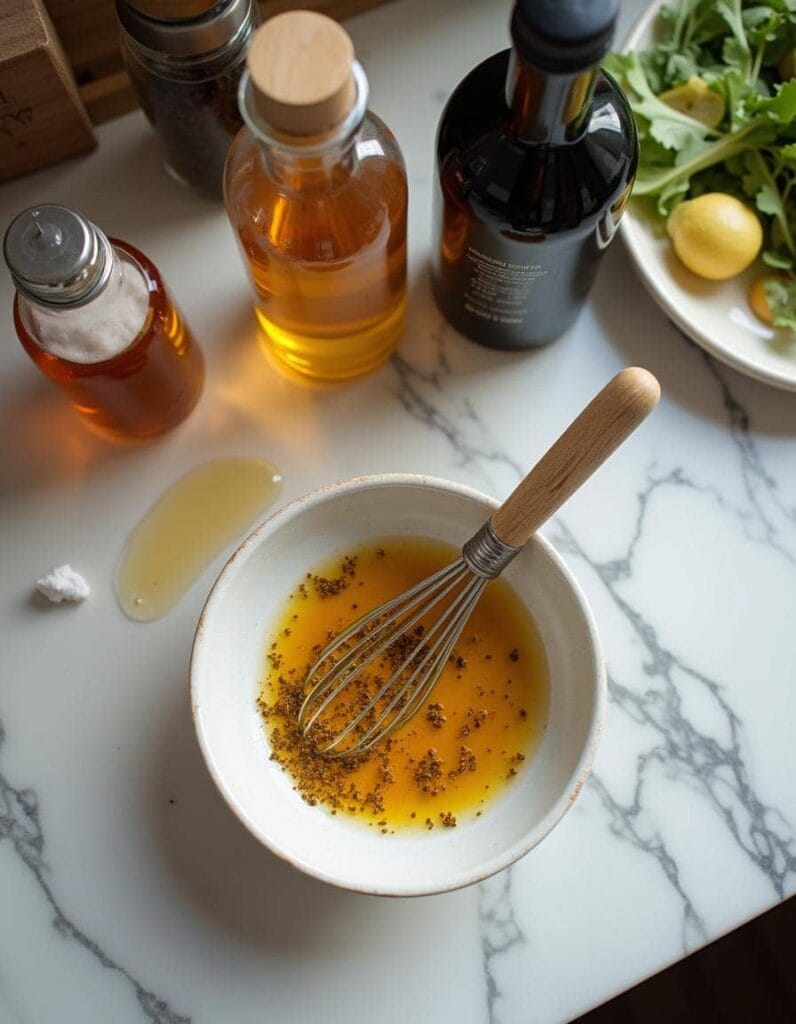
Making your dressing might sound like a hassle, but it’s ridiculously easy. Whisk together 3 tablespoons of olive oil, 2 tablespoons of balsamic vinegar, 1 teaspoon of honey, and a pinch of salt and pepper. Taste it and adjust as needed. If it’s too tangy, add a little more honey; if it’s too sweet, splash in more vinegar.
Step 4: Assemble the Salad
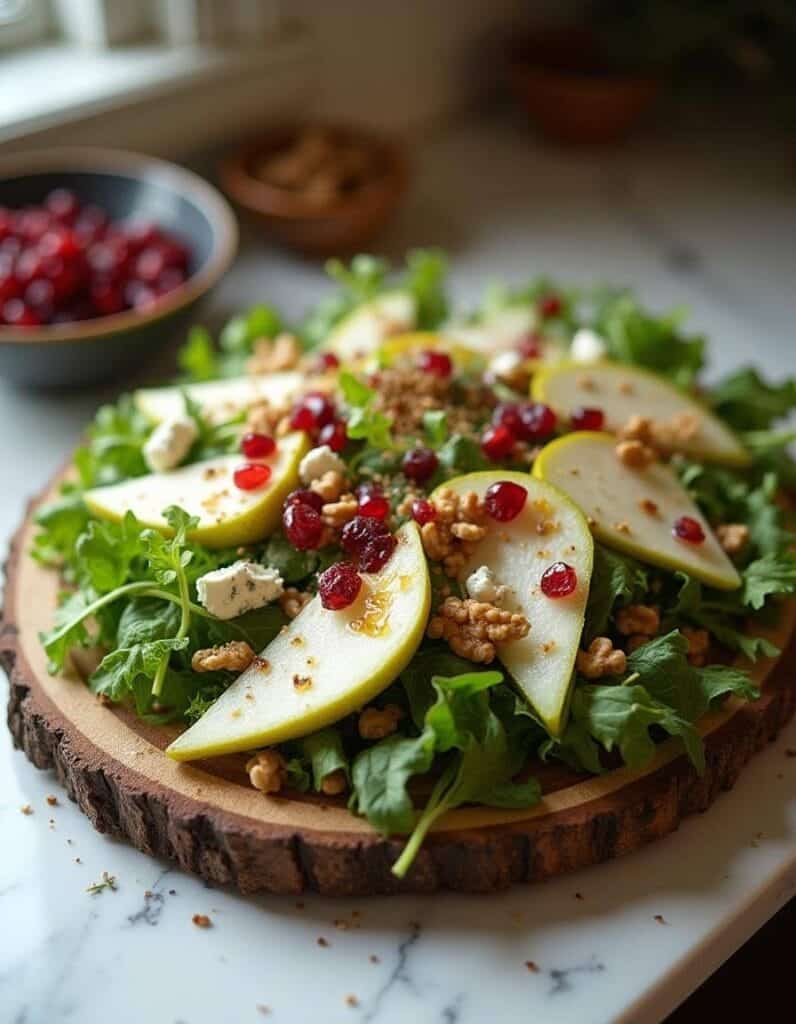
Start with your greens. Layer the pear slices on top, crumble the cheese over everything, and sprinkle on the toasted nuts. If you’re adding any extras like dried cranberries or pomegranate seeds, now’s the time. Drizzle the dressing over the top just before serving, and toss gently to coat everything.
Pro Tips (Because Nobody Wants a Sad Salad)
- Ripe Pears Are Everything: If they’re too hard, let them sit on the counter for a day or two.
- Go Easy on the Dressing: You can always add more, but you can’t take it out. A little goes a long way.
- Toast Those Nuts: Seriously, it’s a game-changer. The flavor is next-level, and the crunch adds so much to the texture.
If you’re making this for a crowd, you can prep the ingredients ahead of time and assemble everything right before serving. The pears stay fresh, the greens stay crisp, and you get to enjoy your meal instead of stressing in the kitchen.
Nutrition Facts
| Nutrient | Amount per Serving |
|---|---|
| Calories | 180 |
| Protein | 6g |
| Carbohydrates | 15g |
| Fats | 10g |
| Fiber | 4g |
Fun Twists to Try
One of the best things about Pear Salad? It loves a remix.
- Vegan-Friendly: Skip the cheese and swap the honey for maple syrup in the dressing. You still get all the flavor and richness without any animal products.
- Protein Boost: Add grilled chicken or shrimp to make it a full meal. The smoky, savory flavors pair beautifully with the sweetness of the pears.
- Fall-Inspired: Toss in some dried cranberries or pomegranate seeds for a seasonal flair. You could even sprinkle a little cinnamon on the nuts for extra warmth.
Why Pear Salad Is Good for You (Like, Really Good)
Let’s break it down—this isn’t just a salad that looks good on Instagram (although it does). Pear Salad is packed with nutrients that make it just as healthy as it is delicious.
- Pears:
These juicy gems are loaded with fiber, which helps keep your digestion on track and leaves you feeling full longer. Plus, pears are a great source of vitamin C, a powerhouse antioxidant that supports your immune system and helps your skin look its best. It’s like nature’s way of saying, “I got you.” - Greens:
Whether you go for arugula, spinach, or mixed greens, you’re getting a serious dose of vitamins A and K. Vitamin A is essential for healthy eyes and skin, while vitamin K plays a crucial role in bone health and blood clotting. And honestly, greens just make you feel good—like you’ve got your life together, even if you’re eating salad in sweatpants. - Nuts:
Toasted walnuts or pecans don’t just add crunch—they’re packed with healthy fats that are good for your heart. Plus, they’ve got a bit of protein to help keep you going. And those fats? They help your body absorb all the vitamins from the greens. (Science, right?) - Cheese (in moderation):
Okay, let’s talk cheese. Goat cheese or blue cheese might feel like an indulgence, but they’re a great source of calcium, which is key for strong bones. Plus, the creamy texture makes this salad taste rich and satisfying, so you don’t feel like you’re “just eating salad.”
So yeah, Pear Salad isn’t just a pretty face—it’s a total nutritional win. Whether you’re looking to fuel up, feel good, or just eat something that tastes amazing, this salad has you covered.
Perfect Pairings
This salad plays well with others. Serve it alongside:
- Grilled Ribeye Steak for a hearty, balanced meal.
- Lemon Butter Garlic Shrimp Pasta (recipe here) for a lighter pairing.
- Mediterranean Quinoa Power Bowl (recipe here) if you’re all about fresh flavors.
- Roasted Stuffed Bell Peppers (recipe here) for a vegetarian feast.
Common Mistakes (and How to Avoid Them)
- Overdressing: Too much dressing can make the salad soggy. Start small and add more if needed.
- Unripe Pears: Hard pears are a no-go. Wait until they’re slightly soft to the touch.
- Skipping the Nuts: Trust me, they add the crunch you didn’t know you needed.
More Recipes You’ll Love
If you’re into this, you’ve gotta try these other amazing dishes:
- Broccoli Cheddar Soup
- Best Ever Potato Salad Recipe
- Best Curry Chicken Salad
- Taverna Salad
- Easy Baklava Recipe
FAQs About Pear Salad
– Add lettuce and pear halves to serving plates. Arrange lettuce leaves on a dish. Drain canned pear halves and place open-face-up on top of lettuce.
– Add mayonnaise, cheese, and cherries: Spoon a dollop (about one tablespoon) of mayonnaise into each canned pear, and sprinkle with Cheddar cheese.
Fresh pears pair wonderfully with walnuts. Apples tend to get most of the love this time of year, but fall also is prime time for a variety of pears. My favorites are Bosc and Anjou pears, both of which are firm and sweet, and when sliced on top of a simple green salad elevate it to greatness.
Pear salads can be customized in numerous ways. Common variations include adding ingredients like blue cheese, walnuts, arugula, cranberries, or balsamic vinaigrette. For instance, a pear salad with balsamic vinegar and walnuts combines sweet pears with tangy balsamic dressing and crunchy nuts.
Anjou, Bartlett, Bosc, and Comice pears are popular choices for salads due to their firm texture and sweet flavor. Anjou pears are firm and lightly sweet, making them suitable for baking and poaching. Bartlett pears are versatile for snacking when soft and for baking when firm. Bosc pears maintain their structure in baking and poaching due to their firm texture and slightly spicy flavor. Comice pears are best eaten fresh due to their rich, buttery sweetness.
The Bottom Line
Whether you’re throwing together a quick lunch or trying to impress at a dinner party, Pear Salad is the answer. It’s simple, fresh, and just fancy enough to feel special without being complicated.
So grab those pears, toast some nuts, and get tossing. You’ve got this—and your taste buds will thank you.

